
- 전체
- JAVA 일반
- JAVA 수학
- JAVA 그래픽
- JAVA 자료구조
- JAVA 인공지능
- JAVA 인터넷
- Java Framework
- Java GUI (AWT,SWING,SWT,JFACE)
- SWT and RCP (web RAP/RWT)[eclipse], EMF
JAVA 인터넷 Latest step by Step Installation guide for dummies: Nutch 0.
2016.04.21 21:25
Latest step by Step Installation guide for dummies: Nutch 0.9
By Peter P. Wang, Zillionics LLC
Try the search engine I developed for The Christian Life: Malachi Search
Please support my effort by using the best free/low price web hosting: 1&1 Inc
To add your comments, please go to: http://nutchtube.blogspot.com/2008/02/latest-step-by-step-installation-guide.html
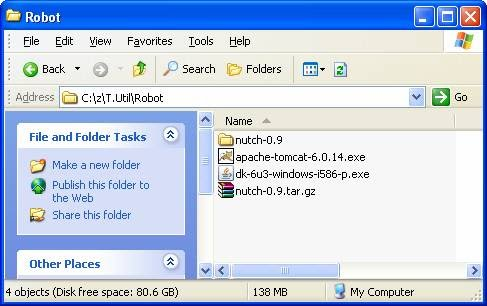
- Download software
- Nutch 0.9: http://www.apache.org/dyn/closer.cgi/lucene/nutch/
- JAVA JDK 6 update 3: http://java.sun.com/javase/downloads/index.jsp
- Apache web server 6: http://tomcat.apache.org/download-60.cgi
- Cygwin: http://www.cygwin.com/
- Install software one by one
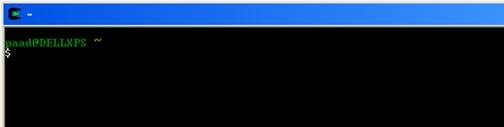
- First, install cygwin: run cygwinSetup.exe. You should see this when run it.
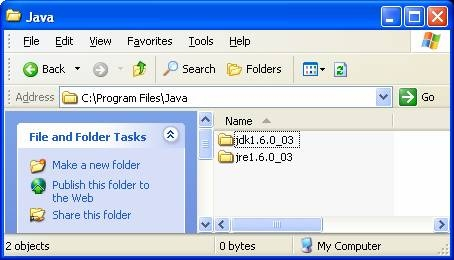
- Second, install JAVA: run dk-6u3-windows-i586-p.exe
- Third, install Apache: run apache-tomcat-6.0.14.exe.
Run it by clicking the Configure Tomcat icon below.
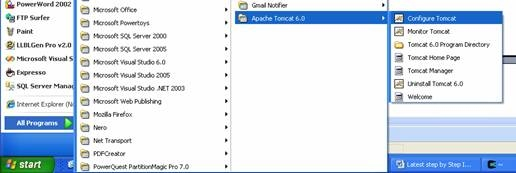
Click the Start button below to start Apache Tomcat Service.

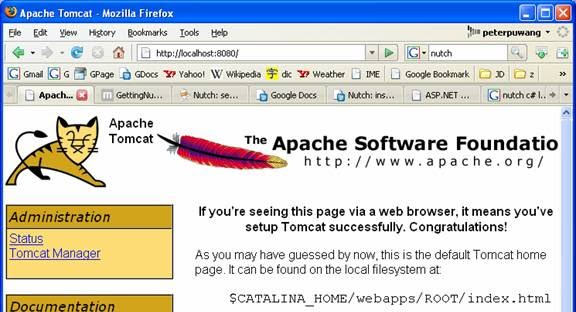
Then you will be able to see the following screen in the browser if you go to http://localhost:8080
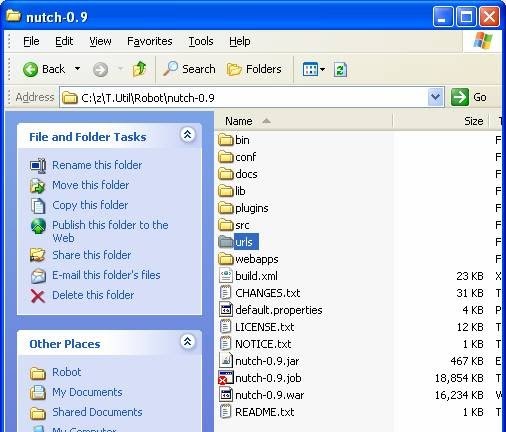
- Fourth, unzip nutch-0.9.tar.gz to any directory you like, e.g. c:\nutch.
- Setup the crawler
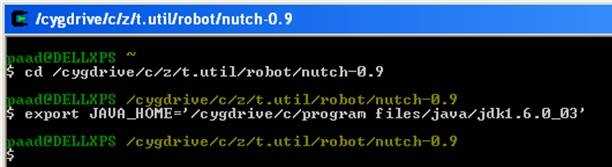
- In Cygwin window, go to the directory of your nutch, and set your JAVA_HOME as follows..
- Create a directory called urls to hold the a text file with urls inside of it.


- In this directory, create the text file with any name you like. Put any URL’s line by line. This is the crawler’s “shopping list”. J

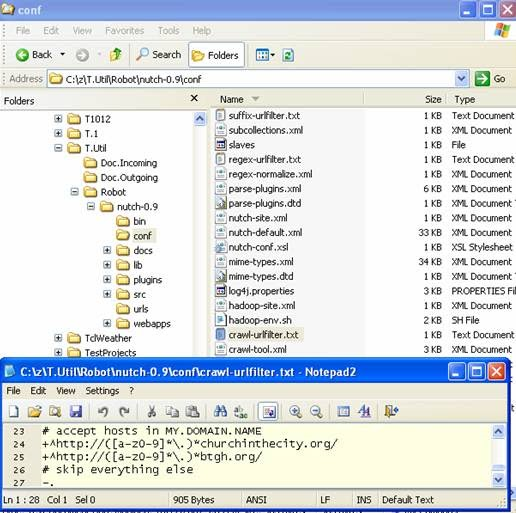
- Edit the file conf/crawl-urlfilter.txt and replace MY.DOMAIN.NAME with the name of the domain you wish to crawl. For example, if you wished to limit the crawl to the apache.org domain, the line should read:
+^http://([a-z0-9]*\.)*apache.org/
- Edit the file conf/nutch-site.xml. insert at minimum following properties into it and edit in proper values for the properties:
<?xml version="1.0"?>
<?xml-stylesheet type="text/xsl" href="configuration.xsl"?>
<!-- Put site-specific property overrides in this file. -->
<configuration>
<property>
<name>http.agent.name</name>
<value>Peter Wang</value>
<description>Peter Pu Wang
</description>
</property>
<property>
<name>http.agent.description</name>
<value>Nutch spiderman</value>
<description> Nutch spiderman
</description>
</property>
<property>
<name>http.agent.url</name>
<value>http://peterpuwang.googlepages.com </value>
<description>http://peterpuwang.googlepages.com
</description>
</property>
<property>
<name>http.agent.email</name>
<value>MyEmail</value>
<description>peterpuwang@yahoo.com
</description>
</property>
</configuration>
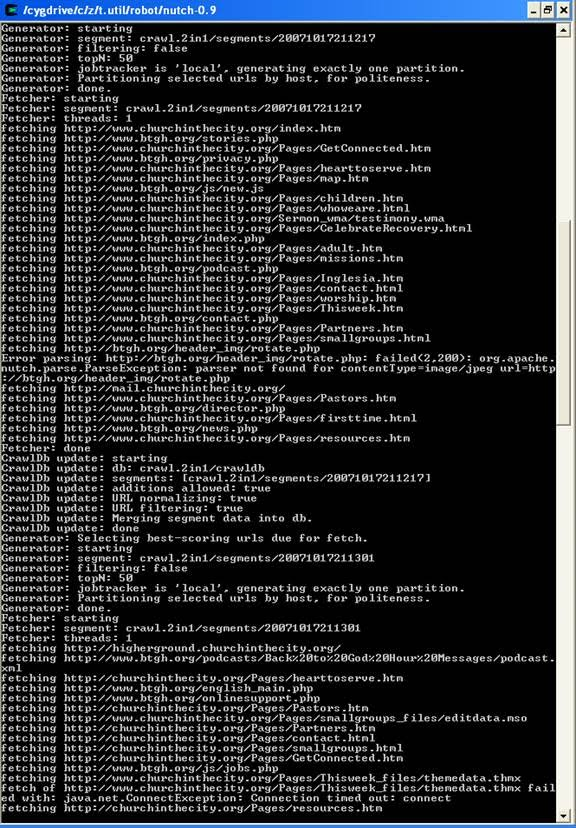
- Run the crawler
Once things are configured, running the crawl is easy. Just use the crawl command. Its options include:
- -dir dir names the directory to put the crawl in.
- -threads threads determines the number of threads that will fetch in parallel.
- -depth depth indicates the link depth from the root page that should be crawled.
- -topN N determines the maximum number of pages that will be retrieved at each level up to the depth.
For example, a typical call might be:
bin/nutch crawl urls -dir crawl -depth 3 -topN 50
Typically one starts testing one's configuration by crawling at shallow depths, sharply limiting the number of pages fetched at each level (-topN), and watching the output to check that desired pages are fetched and undesirable pages are not. Once one is confident of the configuration, then an appropriate depth for a full crawl is around 10. The number of pages per level (-topN) for a full crawl can be from tens of thousands to millions, depending on your resources.
- Web Searching based on the crawling result above:
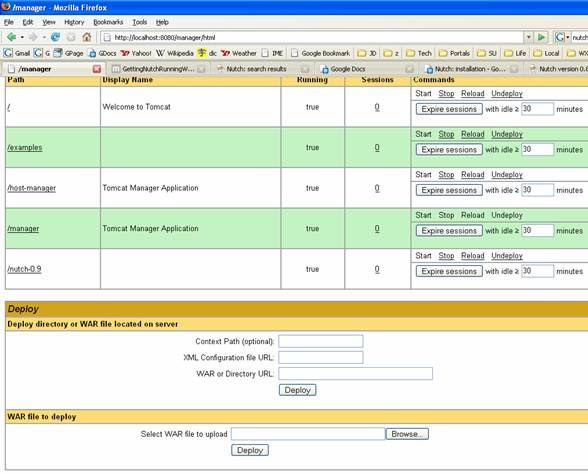
- Go to http://localhost:8080/manager/html in the browser. In the “WAR file to deploy” section. Select the nutch0.9.war file to upload. It is in your nutch directory. Then you will see the /nutch-0.9 is in the list.
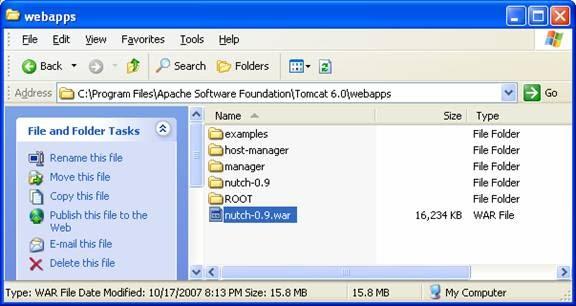
- Go to your Apache tomcat directory\webapps, e.g. C:\Program Files\Apache Software Foundation\Tomcat 6.0\webapps, and you will see the nutch-0.9.war is already copied there.
- In the browser’s page http://localhost:8080/manager/html, click “Start” link in the /nutch-0.9 row. Then you will see a folder called “nutch-0.9” will be created in the webapps folder shown above.
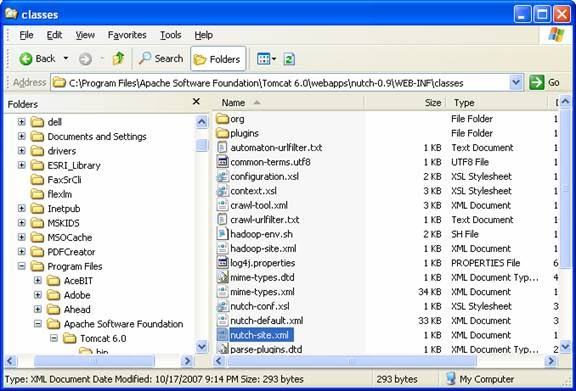
d. Set Your Searcher Directory
Next, navigate to your nutch webapp folder then WEB-INF/classes. Edit the nutch-site.xml file and add the following to it (make sure you don't have two sets of< configuration></configuration> tags!):
<configuration>
<property>
<name>searcher.dir</name>
<value>your_crawl_folder_here</value>
</property>
</configuration>
For example, if your nutch directory resides at C:\nutch-0.9.0 and you specified crawl as the directory after the -dir command, then enter C:\nutch-0.9.0\crawl\ instead of your_crawl_folder_here.
e. Reload
Reload the Application. Use the Tomcat Manager and simply click the "Reload" command for nutch, or restart Tomcat using the windows services tool.
Open up a browser and enter the url http://localhost:8080. The nutch search page should appear. As long as you've defined the correct location of your nutch index directory (as shown above), clicking search should yield results.
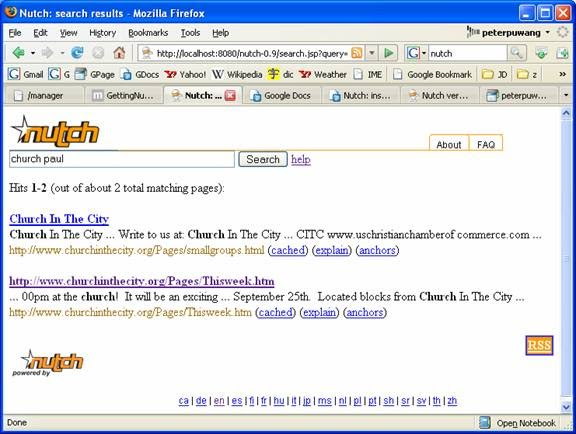
Congratulations! It rocks!
Peter P. Wang
peterpuwang@zillionics.com
[출처] [web source] http://zillionics.com/resources/Articles/NutchGuideForDummies.htm
광고 클릭에서 발생하는 수익금은 모두 웹사이트 서버의 유지 및 관리, 그리고 기술 콘텐츠 향상을 위해 쓰여집니다.