
How To Build A Mobile App In 12 Easy Steps
2016.12.14 23:46
How To Build A Mobile App In 12 Easy Steps
Like so many before you, you have a great app idea burring in your brain, and you have no idea how to bring it and all of its profit potential to fruition. And like those who have paved the way for app entrepreneurs, you need to learn the ropes. While some will advise you to hire a developer and invest a fortune in your idea, realists will tell you the risk is too big. There are tons of app building programs out there that can help you make your vision a reality, but the simple truth is with some planning and methodical work on your part, the process is fairly simple.
We’ve come up with a three-part guide that will walk you through the steps of profiting from your big idea. Let’s start at the very beginning of how to create an app…
How To Build An App – Step 1: Set a Goal.
Step away from any form of technology and get out a pen and paper and define what it is you want to accomplish. The starting line in the app development word is a pen and paper, not complex coding and designing. Ask and answer the following questions:
- What exactly do you want your app to do?
- How are you going to make it appeal to users?
- What problem is it going to solve?
- How will it simplify life for people?

You will not survive in any business if you don’t have well defined, clearly set goals! A lack of vision will frustrate you and anyone who you employ to work for you. Before you do anything, create a clear picture of what you want done!
How To Build An App – Step 2: Sketch your Ideas.
No! You still cannot turn on your computer. Now you need to use the pen and paper that has the answers to the questions about your apps purpose to develop a sketch of what it will look like. Here you move your clearly worded ideas into visual representations of your thoughts. Decide if you are going to give your app away and offer ads to generate money, or are you going to offer it as a paid download. You can also choose the option to offer in app purchases. If that is something you are going to do, make sure you sketch out those ideas as well.
How To Build An App – Step 3: Research, research, and then research some more.
Now you can turn your computer on, but not to start blindly designing your app. The leg work is nowhere near done. You have to dig deep and research the competition of your app idea. I know you think you have one of a kind idea, but the numbers are not in your favor—odds are someone has already tried it. You can look at this in two different ways. One you can become deflated and give up, or two, you can examine the competition and make your app better. I prefer the ladder. Read the competition’s reviews. What did people like/dislike about the app? Then, use that information to your advantage. Refer back to your pen and paper from steps one and two, and modify and adjust your idea accordingly.
After reading and modifying, your research needs to shift focus a bit. It’s time to harness the power of the Internet. Is your app a truly feasible idea? Here’s where you will examine copyright restrictions and possible technical holds ups. This step is crucial because it will save you money in the long run. You can’t move forward and spend time on an idea that won’t work. Figure out any glitches, and find ways around them, (notice I didn’t say give up—“an ounce of prevention..”) so you don’t have to back track.

Next, shift your research focus to sales and marketing. Reflect back to your sketch about how you are going to make money with your app. Are you going to stick with your original idea, or are you going to change it? What is your niche? Are you marketing to teens, parents, children, teachers, travelers, gamers? Determine that target audience right away. It will help you narrow down design ideas.
After you’ve exhausted your foresight skills, you can begin the fun stuff. Start to look for design ideas. 99design is a great showcase for examining new and innovative design ideas. Browse through and see what fits your fancy. Keep your target audience in mind when examining designs. A visual appeal is crucial to your final product.
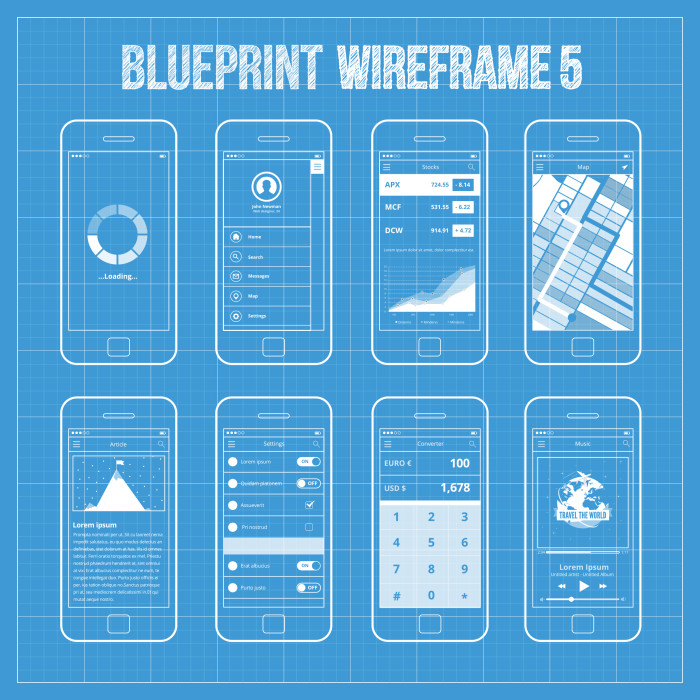
How To Build An App – Step 4: Wireframe
In the technology world, a wireframe is a glorified story board. Here is where you take your sketch and your design idea, and you give your idea a little more clarity and functionality. This will become the foundation for your apps development, so it really is a crucial step. There are stacks of wireframing websites that you can use to help you bring your sketches to digital life with functionality like click through and icons. The trick is finding one that you like and that is easy for you to use.
Check out these wireframinig tools here:
- http://www.axure.com/
- https://balsamiq.com/products/mockups/
- http://pidoco.com/
- http://visio.microsoft.com/
- http://www.adobe.com/products/indesign.html?PID=7609893
- http://iplotz.com/
- https://evernote.com/penultimate/?var=2
- https://www.omnigroup.com/
- https://www.gliffy.com/
How To Build An App – Step 5: Start Defining the Back End of Your App
We left off with your wireframe, so at this point in your app development, you have a storyboard of how you want your app to function. Now it’s time to use that storyboard to start examine functionality.
Using your wireframe, you need to delineate your servers, APIs, and data diagrams. There are some great do-it-yourself app builders that can provide you with the tools to easily do this. Some of them even do if for you. If you are unclear of what this technical jargon means, you should probably use a service that provides hosting and a means of collecting data about your app usage.
Regardless of what method you choose to use to develop your app, it is imperative that clear diagrams are created as they will serve as the directions for everyone working on your project. Should you run across any technical difficulties, you should revise your wireframe to reflect any changes.
Check out these back end services:
How To Build An App – Step 6: Check Your Model
Here’s where you need to call in the troops. Show your demo to friends, family, and anyone else who is willing to give you constructive criticism. Don’t waste your time with people who will tell you, “Wow, that’s neat.” Seek out those cynics and critics. Brutal honesty is crucial at this phase.
Don’t be afraid to look over their shoulder as they are checking out your demo to watch how they navigate things. If you need to revise any of the layouts or navigation paths, do so. Keep your users in mind, and try to follow their thinking, not your own.
Your end goal with this step is to finalize your apps structure and foundation. You need to have the brains of your app working before you start adding design to avoid frustration later in the process.
How To Build An App – Step 7: Get Building
With the foundation in place, you can start to put the puzzle together to building your app. First, your developer will set up your servers, databases, and APIs. If you are using a quality do-it-yourself app builder, this will be done for you. Do not forget to reflect on the feedback you got from your testers. Modify the apps functionality to reflect any changes you made based on your first phase of testing.


At this point, it’s time to sign up for the stores. You need to create an account with Google Play and Apple so that you can get your app on the market. It may take a few days to go through the process, so don’t procrastinate this step.
Check out these app building platforms:
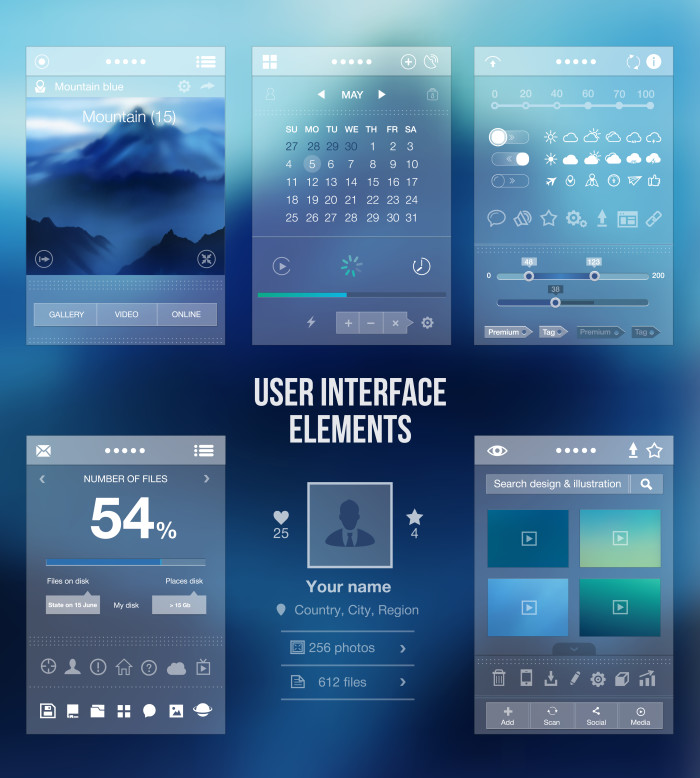
How To Build An App – Step 8: Design the Look
Now its time to employ the designers to create your UI, user interface. The user interface is a very important part of your app because people are attracted to how things look and how easy they are to navigate. Through the design process, you need to keep the feedback you got from your testers in mind, and you need to make sure the design and the navigation reflect the feedback you got. How to design your app?
If you’ve hired a graphic designer for your app, you will need to get high resolution skins, or visually appealing screens based on your wireframe, for your app.
If you are using a WYSIWYG editor, you need to pick your template and layout for your screens yourself. I’ll stress again, keep that testing feedback in mind when developing the look of your app. You are building for users, not for you!
Check out these app design agencies:
- http://www.bluefountainmedia.com/
- http://bigdropinc.com/
- https://huemor.rocks
- http://www.eight25media.com/
- http://www.loungelizard.com/
- http://www.inflexioninteractive.com/
How To Build An App – Step 9: Test Your App, AGAIN.
A second round of testing is imperative. In this round, you will have both a functioning app as well as a user interface to test. All the screens of your app should properly work at this point, and your app should be visually appealing as well.
You need to run a battery of tests on your app in its completed form to assure that both the look and the feel of the app meet your expectations. Proto.io and Pixate are great platforms for testing your app. Both of these programs will allow you to add clickable links to navigate your app. They will help you examine the final layers, interactions, and design of your app as well. You can use the information you get from this testing phase to help you move forward.
You may be scratching your head and asking, “Didn’t I do this with my wireframe?” The answer is, “Well, kind of.” While this may seem similar to your wireframe, it’s a lot more detailed. Your wireframe was just the skeleton of your app. At this point, your app should be both aesthetically pleasing as well as functioning.
How To Build An App – Step 10: Modify and Adjust
You’ve taken your prototype for a spin, and you’ve learned that there are still a few tweaks you need to make. Now that you’ve seen your app in it’s fully functioning form, you need to call the troops back and ask they to do the same.
Ask the same people who viewed your app in it’s development phase to examine it in it’s testing phase as well. Again, open yourself up to constructive criticism, and use the feedback accordingly. Lastly, ask your developer and your designer to make any changes that you feel would be valuable to your app.
How To Build An App – Step 11: Beta Testing
You’ve looked at your app through several different lenses, and you think you’ve managed to develop a smoothly functioning, aesthetically pleasing, problem solving app. Now, you need to examine how your app is going to function in a live environment.
Android makes this process simple, while iOS likes to keep things in a controlled environment. There’s pros and cons to both approaches, but the bottom line is you need to jump through one last hoop. You can simply upload your app file on any android device and test it in a live environment. From here on out in your Android app development process, you can monitor your apps progress from your device.
iOS requires you use a platform called TestFlight to beta test your app. Apple is pretty thorough with its directions and instructions for using its beta test platform. A great feature to this beta testing option is that you can invite testers to review your app before taking it live. It’s yet another user lens through which you can view your app.

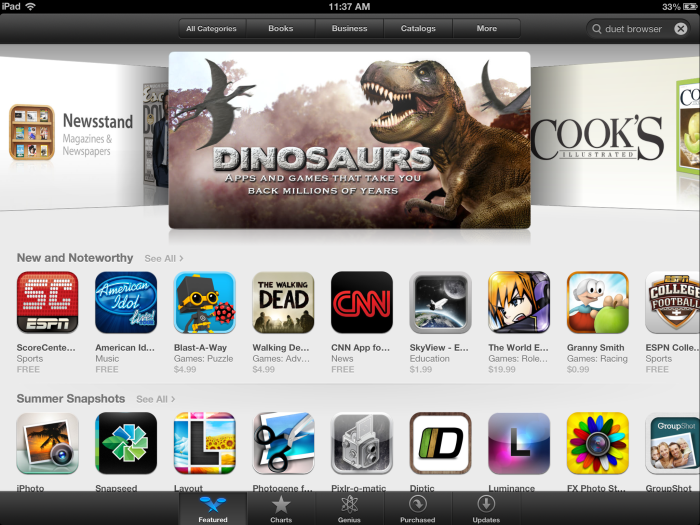
How To Build An App – Step 12: Release Your App
You’ve made it to the finish line. You’ve brought your idea to fruition, and the last step is to share it with the world. Hopefully, you’ve gone on to solve a major problem. If not, with any luck your app has some features that can simplify or bring enjoyment to someone’s life. Regardless, you’ve accomplished something big. Now it’s time to distribute it!
Android and iOS, again are very different with regard to marketing apps. If you stick with this business, you will see a pattern emerge—Android is a little less strict. Again, there are pros and cons to both approaches, but as an app entrepreneur, you will need to learn the rules for both.
You can simply add your app to the android store. It will not be reviewed right away. You will instantly be selling your app in the Google Play store. iOS, on the other hand, will review your app before it can go live. While there is no set time frame for the Apple team to review your app and push it on the shelves, you can guestimate about a week of waiting.
If you are anxious about getting your app onto the devices of users, you can also publish it in Pre-Apps. This is a great opportunity to have your app viewed by people who like to have a first look at new ideas. Keep in mind, these people are always reviewing up and coming ideas, so their feedback could be great for you. They are familiar with #trendingapps, so I’d advise taking this extra step—if for nothing more than to learn more about the app world.
You need to remember that you still have to sell your app. Just because your app is in the store does not mean you are going to start making millions tomorrow. Marketing is a must. Sadly, marketing cannot just be added onto this guide as “Step 13”. It’s got quite a few steps of its own. So, now that you know how to make an app, I’d advise you to begin researching app marketing strategies so that you can change the world one app at a time!
How To Build An App – Infographic

[출처] https://www.biznessapps.com/blog/how-to-build-a-mobile-app-in-12-easy-steps/
광고 클릭에서 발생하는 수익금은 모두 웹사이트 서버의 유지 및 관리, 그리고 기술 콘텐츠 향상을 위해 쓰여집니다.