
- 전체
- android studio
- Android SDK
- Android NDK
- Android ADK
- Android Etc. Lib.
- Android dalvik VM
- Android 보안
- PhoneGap
- AOSP 개발
- MIT App Inventor 2
- kivy (python)
- ionic framework
- Kotlin (코틀린)
- React Native
Android SDK [Android SDK] [안드로이드 스튜디오] 로딩창 구현 (ProgressBar)
2024.05.01 16:40
[Android SDK] [안드로이드 스튜디오] 로딩창 구현 (ProgressBar)
이번 포스팅에서는 커스텀 프로그레스바를 만들텐데 대기시간이 필요할때 주로 사용되는 로딩창을 프로그레스바로 구현해보도록 하겠습니다.
먼저 새로운 프로젝트를 생성합니다.

템플릿은 아무것도 없는 Empty Activity를 선택했습니다.
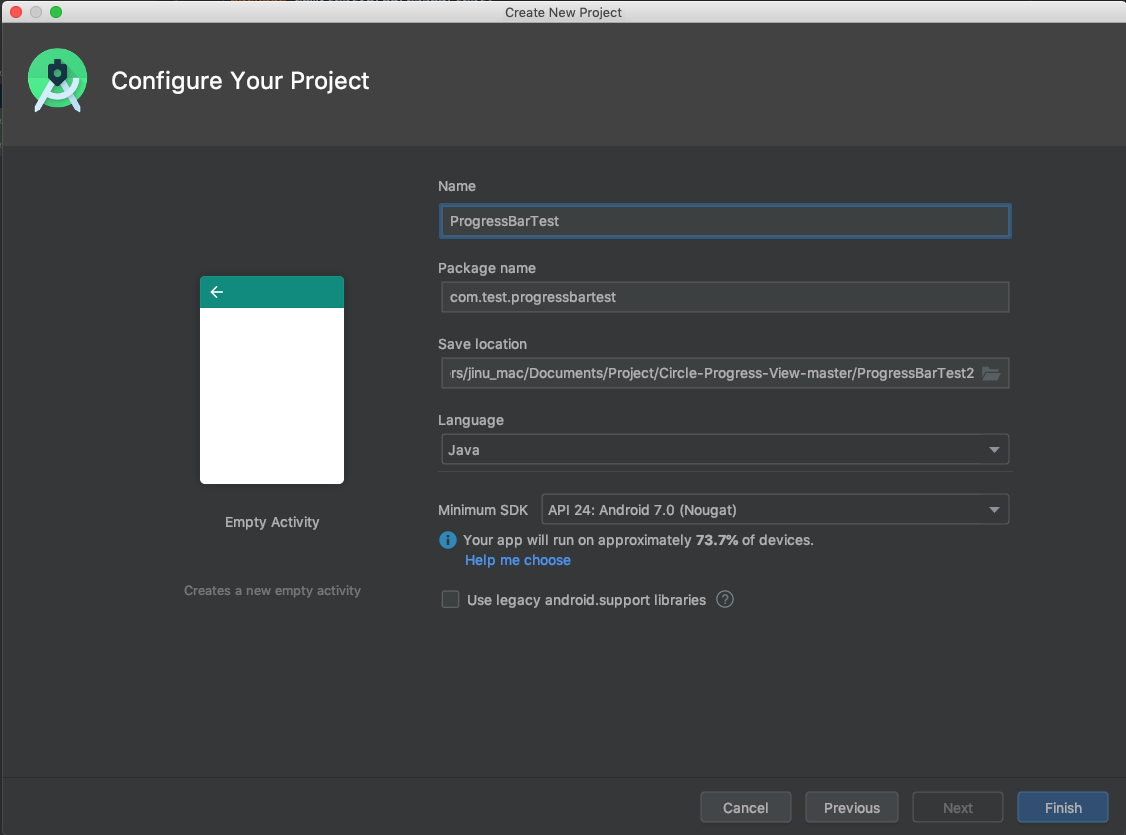
프로젝트 이름주시고 최소 SDK는 API24:Android7.0으로 했습니다.
처음 프로젝트를 생성하면 MainActivity와 activity_main.xml 파일이 기본으로 만들어집니다.
그럼 먼저 로딩창을 테스트하기 위한 버튼을 보여주기 위해 activity_main.xml에 아래와 같이 코딩합니다.
<?xml version="1.0" encoding="utf-8"?>
<LinearLayout
    xmlns:android="http://schemas.android.com/apk/res/android"
    android:layout_width="match_parent"
    android:layout_height="match_parent"
    android:orientation="vertical">

    <Button
        android:id="@+id/btnload"
        android:layout_width="wrap_content"
        android:layout_height="wrap_content"
        android:layout_marginTop="100dp"
        android:layout_gravity="center"
        android:text="Loading!!!"/>
</LinearLayout>
그리고 MainActivity를 코딩하기 전에 팝업으로 뜰 로딩창을 먼저 만들어 줍니다.
로딩창을 위한 새로운 자바 클래스파일을 추가합니다.
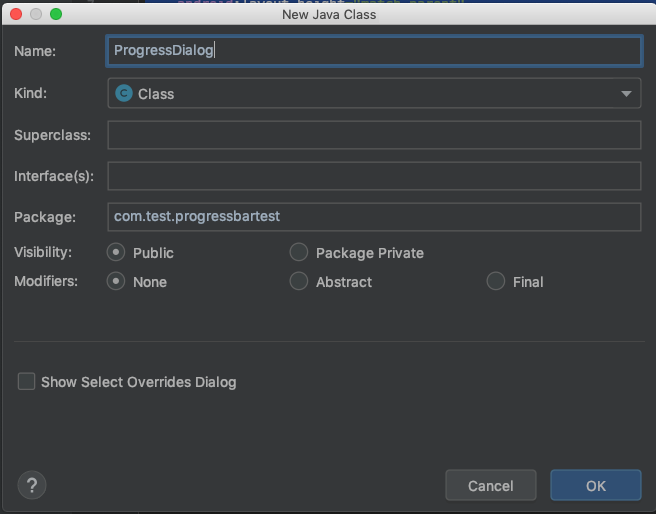
ProgressDialog에 아래와 같이 코딩합니다.
package com.test.progressbartest;

import android.app.Dialog;
import android.content.Context;
import android.view.Window;

public class ProgressDialog extends Dialog
{
    public ProgressDialog(Context context)
    {
        super(context);
        // 다이얼 로그 제목을 안보이게...
        requestWindowFeature(Window.FEATURE_NO_TITLE);
        setContentView(R.layout.dialog_progress);
    }
}
다이얼로그창으로 띄울거라서 Activity가 아닌 Dialog로 상속을 받았습니다.
public class ProgressDialog extends Dialog
그리고 타이틀을 안보이게 처리하고 레이아웃을 지정했습니다.
아직 레이아웃을 만들지 않아서 에러로 표시될겁니다.
그럼 이제 레이아웃도 추가하고 코딩합니다.
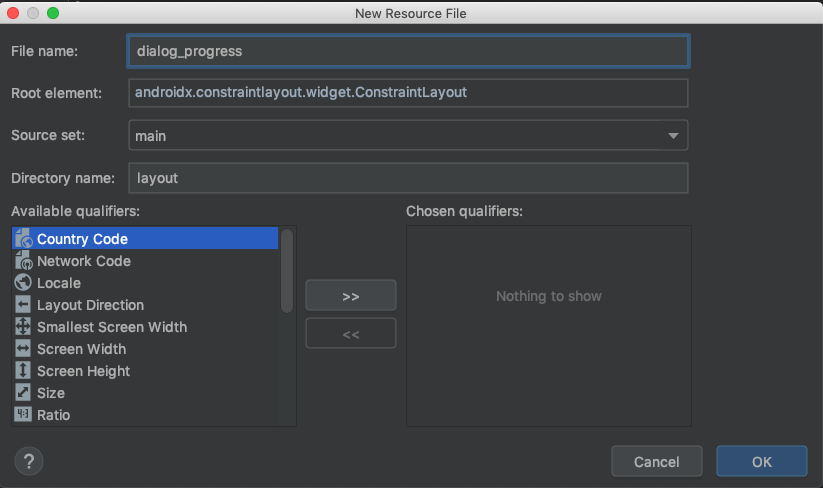
dialog_progress 레이아웃에 아래와 같이 코딩합니다.
<?xml version="1.0" encoding="utf-8"?>
<LinearLayout
    xmlns:android="http://schemas.android.com/apk/res/android"
    android:layout_width="wrap_content"
    android:layout_height="wrap_content"
    android:orientation="vertical"
    android:padding="6dp"
    android:background="@drawable/progress_bg" >
    <ProgressBar
        android:layout_width="72dp"
        android:layout_height="72dp"
        android:indeterminateDrawable="@drawable/progress_image" />
    <TextView
        android:layout_width="match_parent"
        android:layout_height="wrap_content"
        android:layout_gravity="center_vertical"
        android:text="Loading..."
        android:textStyle="bold"
        android:textColor="@android:color/white"
        android:textSize="16dp" />
</LinearLayout>
이렇게 하시면 아마
android:background="@drawable/progress_bg"
android:indeterminateDrawable="@drawable/progress_image"
drawable에 따로 정의를 안해줘서 요기 두 부분에서 에러가 나겠죠?
@drawable/progress_bg 이거는 Resource File을 아래와 같이 만드시고


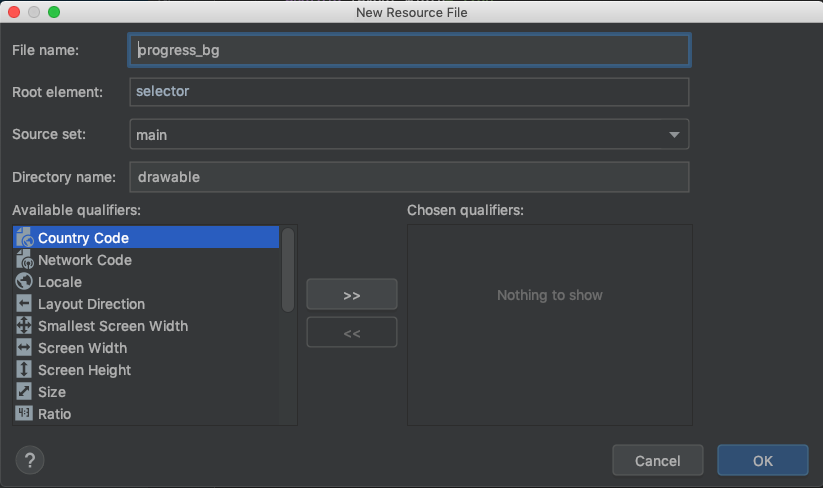
아래와 같이 코딩하였습니다.
<?xml version="1.0" encoding="utf-8"?>
<shape xmlns:android="http://schemas.android.com/apk/res/android" >
    <solid android:color="#22ffffff"/>
    <corners android:radius="12dp"/>
    <stroke android:color="#22ffffff" android:width="1dp"/>
</shape>
좀 이쁘게 하기 위하여 모서리를 둥글게 처리하고 색상은 반투명 검은색으로 지정하였습니다.
이제 @drawable/progress_image 이걸 작성하기 전에 효과를 줄 아이콘을 먼저 추가해줍니다.
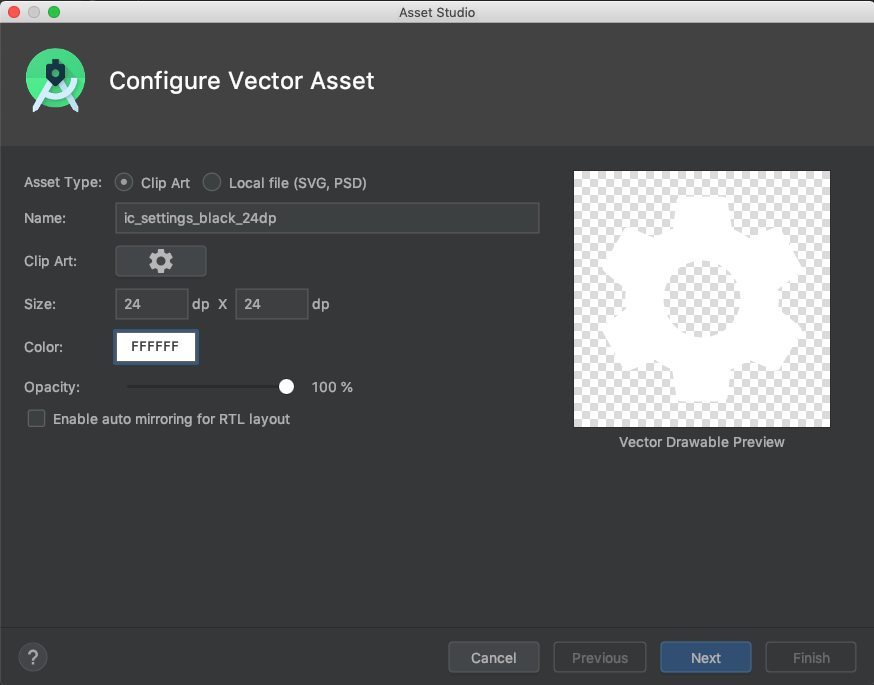
셋팅아이콘을 사용할 예정이며 이름은 ic_settings_black_24dp, 색상은 흰색으로 했습니다.
아이콘은 맘에 드시는걸로 변경해도 아무 상관없습니다.
자! 이제 @drawable/progress_image 를 마저 코딩합니다.
위와 동일히게 Resource File을 추가하시고 아래와 같이 코딩합니다.
<?xml version="1.0" encoding="utf-8"?>
<animated-rotate
    xmlns:android="http://schemas.android.com/apk/res/android"
    android:drawable="@drawable/ic_settings_black_24dp"
    android:pivotX="50%"
    android:pivotY="50%">
</animated-rotate>
애니메이션의 회전을 사용하여 아이콘을 계속 돌아가도록 지정하였습니다.
이제 준비는 다 끝났고 MainActivity만 남았습니다.
package com.test.progressbartest;

import android.graphics.drawable.ColorDrawable;
import android.os.Bundle;
import android.view.View;
import android.widget.Button;

import androidx.appcompat.app.AppCompatActivity;

public class MainActivity extends AppCompatActivity
{
    ProgressDialog customProgressDialog;

    @Override
    protected void onCreate(Bundle savedInstanceState)
    {
        super.onCreate(savedInstanceState);
        setContentView(R.layout.activity_main);

        Button btnLoad = findViewById(R.id.btnload);

        //로딩창 객체 생성
        customProgressDialog = new ProgressDialog(this);
        //로딩창을 투명하게
        customProgressDialog.getWindow().setBackgroundDrawable(new ColorDrawable(android.graphics.Color.TRANSPARENT));

        btnLoad.setOnClickListener(new Button.OnClickListener()
        {
            @Override
            public void onClick(View v)
            {
                // 로딩창 보여주기
                customProgressDialog.show();
            }
        });
    }
}
MainActivity는 간단합니다.
로딩창으로 쓸 다이얼로그 객체를 생성하고 배경을 투명하게 변경하였습니다.
그리고 버튼이 클릭되면 show() 함수를 이용하여 로딩창을 표출합니다.
이제 실행해보면
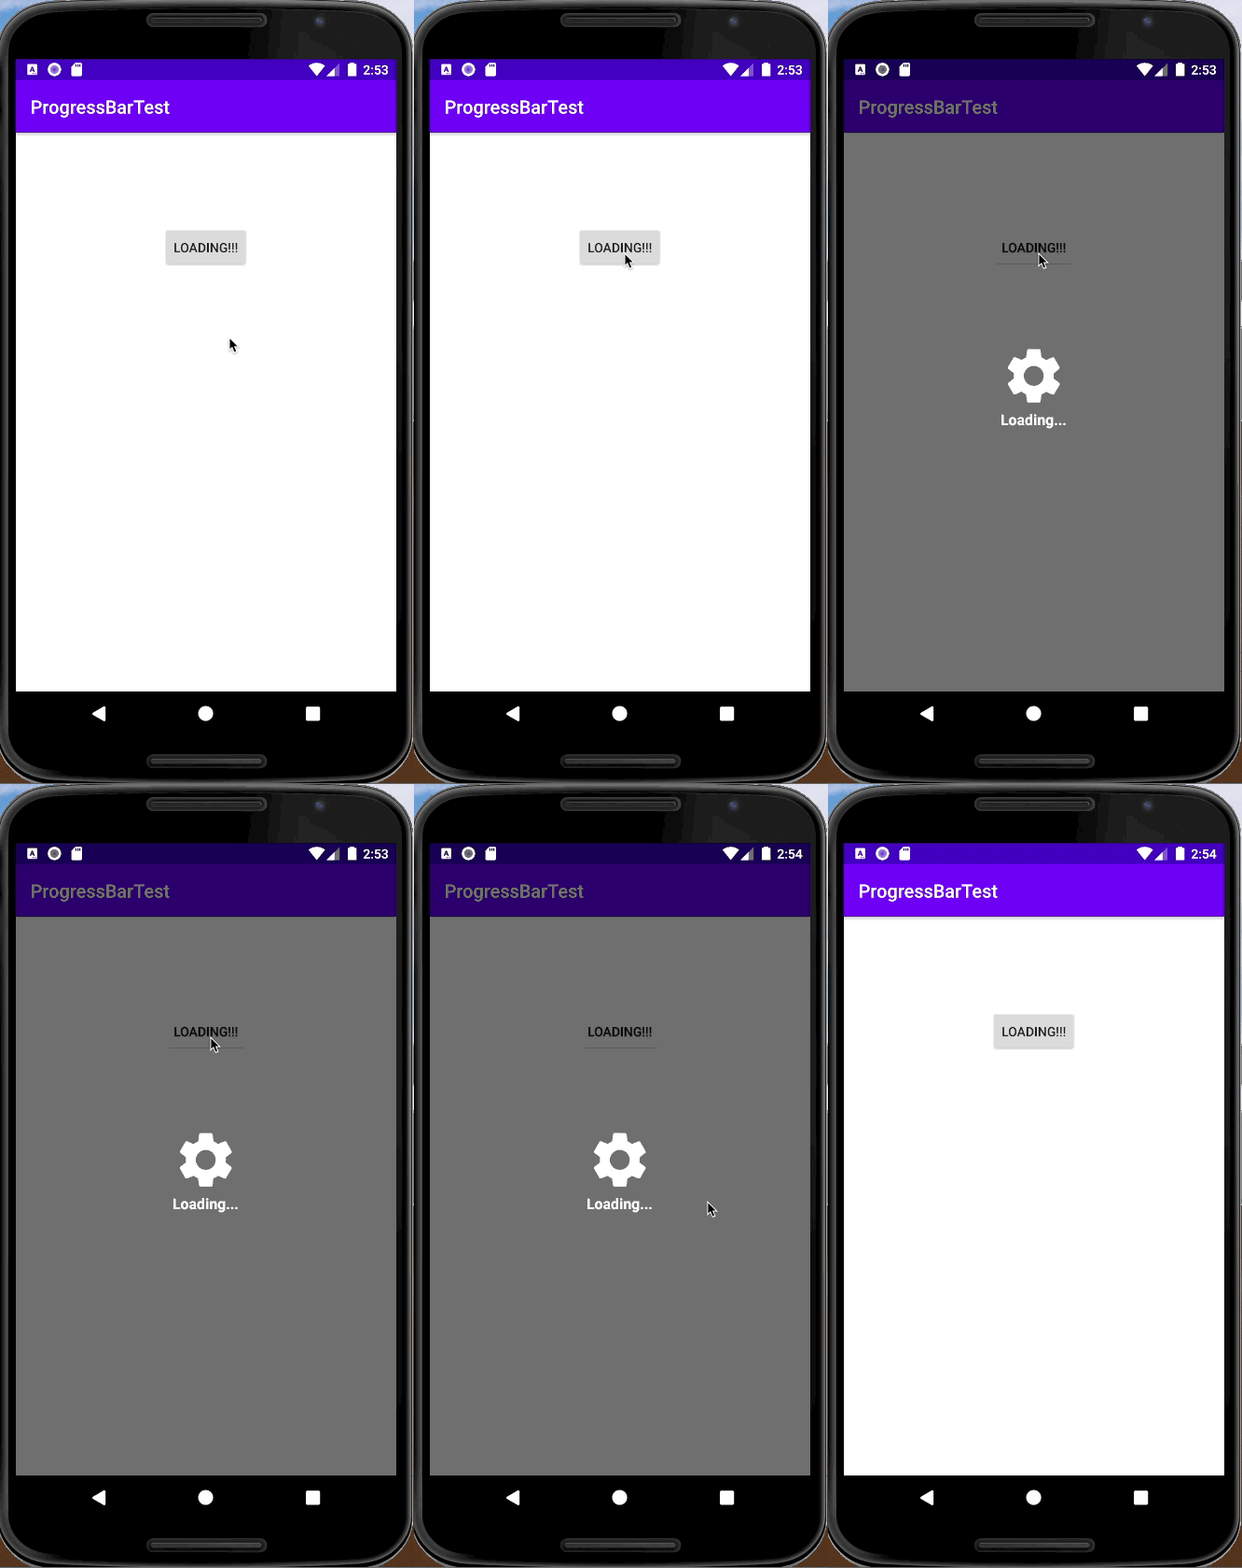
잘 돌아가네요
종료할때는 ProgressDialog에서 setCancelable(false); 주지않았기때문에 로딩창 주변을 클릭하면 종료가됩니다.
로딩창 주변이 클릭되도 종료되지 않는 모달창으로 띄우실려면 setCancelable(false); 을 주셔야합니다.
그리고 MainActivity에서 로딩창을 종료하시려면
customProgressDialog.dismiss();
을 주시면 됩니다.
이렇게 하는 방법외에 이미지를 여러개 등록해놓고 슬라이드처럼 변경되게하거나 움직이는 Gif를 사용하는 방법들도 있는데 아무래도 리소스를 많이 잡아먹어서 그냥 아이콘을 회전시키는게 저는 좋아보이네요
[출처] https://andro-jinu.tistory.com/entry/androidstudio2
광고 클릭에서 발생하는 수익금은 모두 웹사이트 서버의 유지 및 관리, 그리고 기술 콘텐츠 향상을 위해 쓰여집니다.