
- 전체
- 게임 일반 (make game basics)
- 모바일 기획 및 디자인
- GameMaker Studio
- Unity3D
- Cocos2D
- 3D Engine OGRE
- 3D Engine irrlicht
- copperCube
- corona SDK
- Windows Basic Game
- BaaS (Mobile Backend)
- phnegap & cordova
- ionic & anguler
- parse (backend)
- firebase (backend)
- Game Backend Server / Opt
- web assembly
- Smart Makers
- pyGame & Ren'Py
- 머드(MUD) 게임 만들기
- Xamarin(자마린)
- flutter (플루터 앱 개발)
- construct 2 / 3
- pocketbase
- RPG Maker 시리즈
- godot engine
- playmaker(unity)
- react native
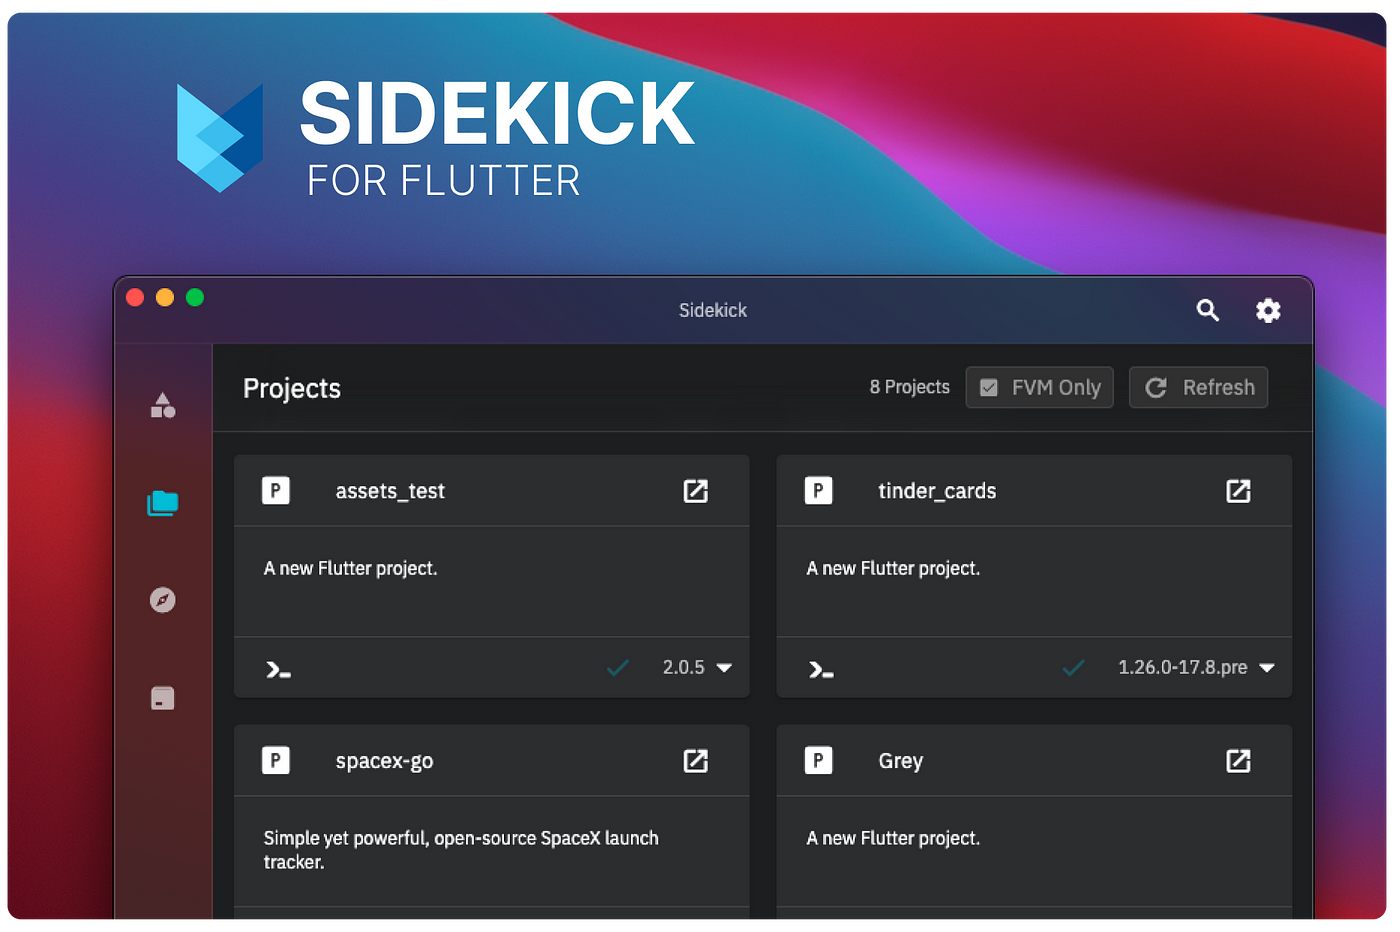
[flutter (플루터 앱 개발)]Using Flutter FVM in Windows & MacOS
In Windows:
Before we proceed with FVM, we need to install Flutter itself. Here’s how you can do it:
Step 1: Installing Flutter:
- Visit the Flutter website (https://flutter.dev/) and click the “Get Started” button.
- Download the Flutter SDK for Windows by clicking the “Windows” button.
- Extract the downloaded Flutter SDK ZIP file to a location of your choice. For example, you can extract it to “C:\flutter”.
- Add the Flutter SDK to your system’s PATH variable. Open the Start menu and search for “Environment Variables.” Select the “Edit the system environment variables” option.
- In the “System Properties” window, click the “Environment Variables” button.
- In the “System Variables” section, find the “Path” variable, select it, and click on the “Edit” button.
- Click on the “New” button and add the path to the “bin” directory inside the Flutter SDK folder (e.g., “C:\flutter\bin”).
- Click “OK” in all open windows to save the changes.
- Open a new Command Prompt or PowerShell window and type “flutter doctor” to verify the installation. It will perform checks and display the status of Flutter installation.
Step 2: Installing Flutter Version Management (FVM):
Now that Flutter is installed, let’s set up FVM to manage different Flutter versions efficiently.
- Open a Command Prompt or PowerShell window. Run the following command to install Chocolatey
Set-ExecutionPolicy Bypass -Scope Process -Force; [System.Net.ServicePointManager]::SecurityProtocol = [System.Net.ServicePointManager]::SecurityProtocol -bor 3072; iex ((New-Object System.Net.WebClient).DownloadString('https://community.chocolatey.org/install.ps1'))
2. Install FVM using Chocolatey, in the same PowerShell
choco install fvm
3. Activate FVM usage globally
flutter pub global activate fvm
4. Configure VSCode to use the current active Flutter SDK version of a project. Add these lines in the Preferences Settings.


C:\Users\[current_user]\AppData\Roaming\Code\User\settings.json
"dart.flutterSdkPath": ".fvm/flutter_sdk",
"dart.flutterSdkPaths": ["/Users/usr/fvm/versions"],
// Remove .fvm files from search
"search.exclude": {
    "**/.fvm": true
},
// Remove from file watching
"files.watcherExclude": {
    "**/.fvm": true
}
In MacOS:
Step 1: Installing Flutter:
- Download the Flutter SDK from the official Flutter website (https://flutter.dev).
- Extract the downloaded file to a directory of your choice. For example,
/Users/your_username/flutter.
- Set up Flutter environment variables:
- Open Terminal and run the following command:
open ~/.bash_profile. - Add the following lines at the end of the file:
export PATH="$PATH:/Users/your_username/flutter/bin"
export PATH="$PATH:/Users/your_username/.pub-cache/bin"
- Replace
your_usernamewith your actual macOS username. - Save and close the
.bash_profilefile. - Run the following command in the Terminal:
source ~/.bash_profileto apply the changes.
Step 2: Installing Flutter Version Management (FVM)
- Install FVM:
- Open Terminal and run the following command:
brew install fvm. - Once the installation is complete, run
fvm doctorto verify that FVM is correctly installed.
- Set up FVM environment variables:
- Open Terminal and run the following command:
open ~/.bash_profile. - Add the following line at the end of the file:
export FVM_HOME=~/.fvm export PATH="$PATH:$FVM_HOME/default/bin"
- Save and close the
.bash_profilefile. - Run the following command in the Terminal:
source ~/.bash_profileto apply the changes.
Setting up FVM and Managing Flutter Versions: With FVM installed, we can now set it up and manage Flutter versions effortlessly.
- Create a new directory to store your Flutter projects. For example, you can create a “Projects” directory in your user folder.
- Open a Command Prompt or PowerShell window and navigate to the directory where you want to create your project.
- Run the following command to initialize FVM:
fvm use stable
- This command will download and set up the stable version of Flutter.
- To install a different version of Flutter using FVM run this command and change <version> with the intended version. example: 2.5.3
fvm install <version>
- Once the process is complete, you can create a new Flutter project using the following command:
fvm flutter create my_flutter_project
- Replace “my_flutter_project” with the desired name of your project.
- To switch between Flutter versions, you can use the following command:
fvm use <version>
- Replace
<version>with the desired Flutter version, such as "stable" or "2.5.0".
Conclusion: Installing Flutter with Flutter Version Management (FVM) on Windows allows you to manage multiple Flutter versions
[출처] https://medium.com/@iliyass.zamouri/using-flutter-fvm-in-windows-1c23e38bccdb
광고 클릭에서 발생하는 수익금은 모두 웹사이트 서버의 유지 및 관리, 그리고 기술 콘텐츠 향상을 위해 쓰여집니다.
댓글 0
| 번호 | 제목 | 글쓴이 | 날짜 | 조회 수 |
|---|---|---|---|---|
| 5 |
[GameMaker Studio] Neural Network in Game Maker Studio – part 4
 | 졸리운_곰 | 2023.07.07 | 462 |
| 4 |
[GameMaker Studio] Neural Network in Game Maker Studio – part 3
| 졸리운_곰 | 2023.07.07 | 413 |
| 3 |
[GameMaker Studio] Neural Network in Game Maker Studio – part 2
| 졸리운_곰 | 2023.07.07 | 506 |
| 2 |
[GameMaker Studio] Neural Network in Game Maker Studio – part 1
| 졸리운_곰 | 2023.07.07 | 378 |
| 1 |
[GameMaker] [한글판] 게임메이커 8 (Game Maker 8)
| 졸리운_곰 | 2022.04.05 | 213 |