

I’ve been playing with Apache Zeppelin for a little while now, and have been really impressed. If you aren’t familiar with Zeppelin, it is a tool for creating interactive notebooks to visualize data. With the latest version, Zeppelin includes an interpreter for PostgreSQL and I discovered that you can use this interpreter to connect Zeppelin to a MySQL server and quickly visualize your data.
Step 1: Install the MySQL JDBC Driver
The first step is to install the JDBC driver and verify that your database can connect via JDBC. You’ll need to download the MySQL JDBC driver here. After downloading this file and unzipping it, copy the .JAR file into your classpath. On a Mac, copy the mysql-connector-java-<version>-bin.jar file into /Library/Java/Home/lib.
Next, I would recommend testing the connection to verify that works. To do that, first start MySQL using the control panel in the system settings:
 Next, download the SQuirrel SQL Client, and add a connection to the database.

Click on test and SQuirrel SQL should be able to connect to your database.
Step 2: Add an Interpreter in Zeppelin
Now that your JDBC connection is working, the next step is to create and configure a Zeppelin interpreter for MySQL. Once you’ve opened up Zeppelin, click on the Interpreter link at the top of the screen. Click on create and populate the form as shown below.


The fields you’ll need to fill in are:
- Interpreter: psql
- postgresql.driver.name: com.mysql.jdbc.Driver
- postgresql.url: jdbc:mysql://localhost:3306/ or jdbc:mysql://<your host>:3306/
Of course, you’ll have to fill out the username/password fields. There is an optional database name which you can put as follows: jdbc:mysql://<your host>:3306/<database>.
Step 3: Activate the MySQL Interpreter
The next step is to bind the MySQL interpreter to your notebook. Click on the gear icon in the upper right corner and make sure that the MySQL interpreter is on. You might want to drag it to the top of your interpreter list. 
Step 4: Run Your Query
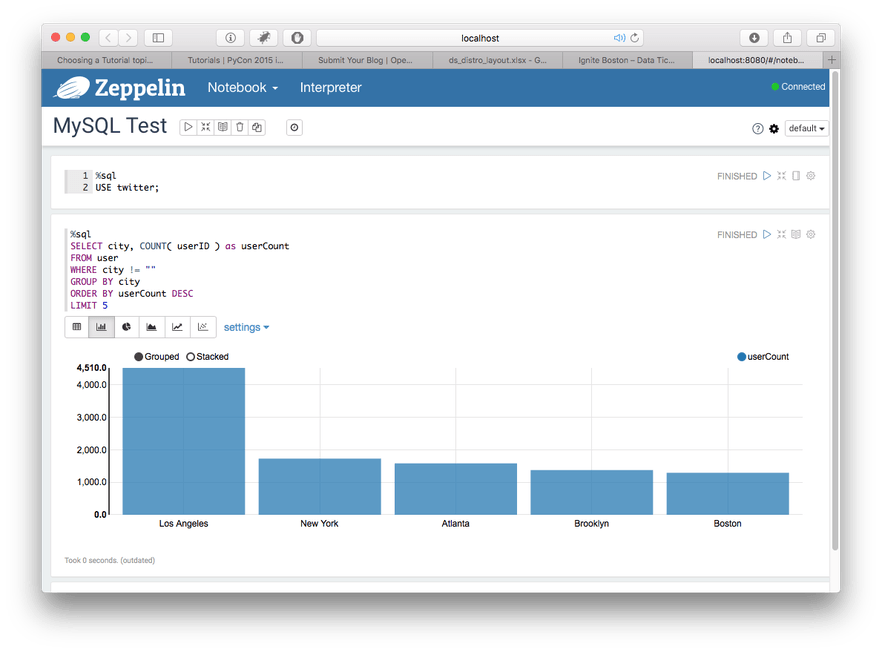
The final step is to execute a query. If you didn’t already specify which database you are using, enter the following into the first Zeppelin text window:
%sql
USE <database name>;
Once you’ve specified the database, you can simply query the database in Zeppelin and it should work.
 Conclusion

In conclusion, Zeppelin’s PostgreSQL connector really is a generic JDBC connector and will allow you to connect to any JDBC compliant database.
[출처] http://thedataist.com/tutorial-using-apache-zeppelin-with-mysql/
