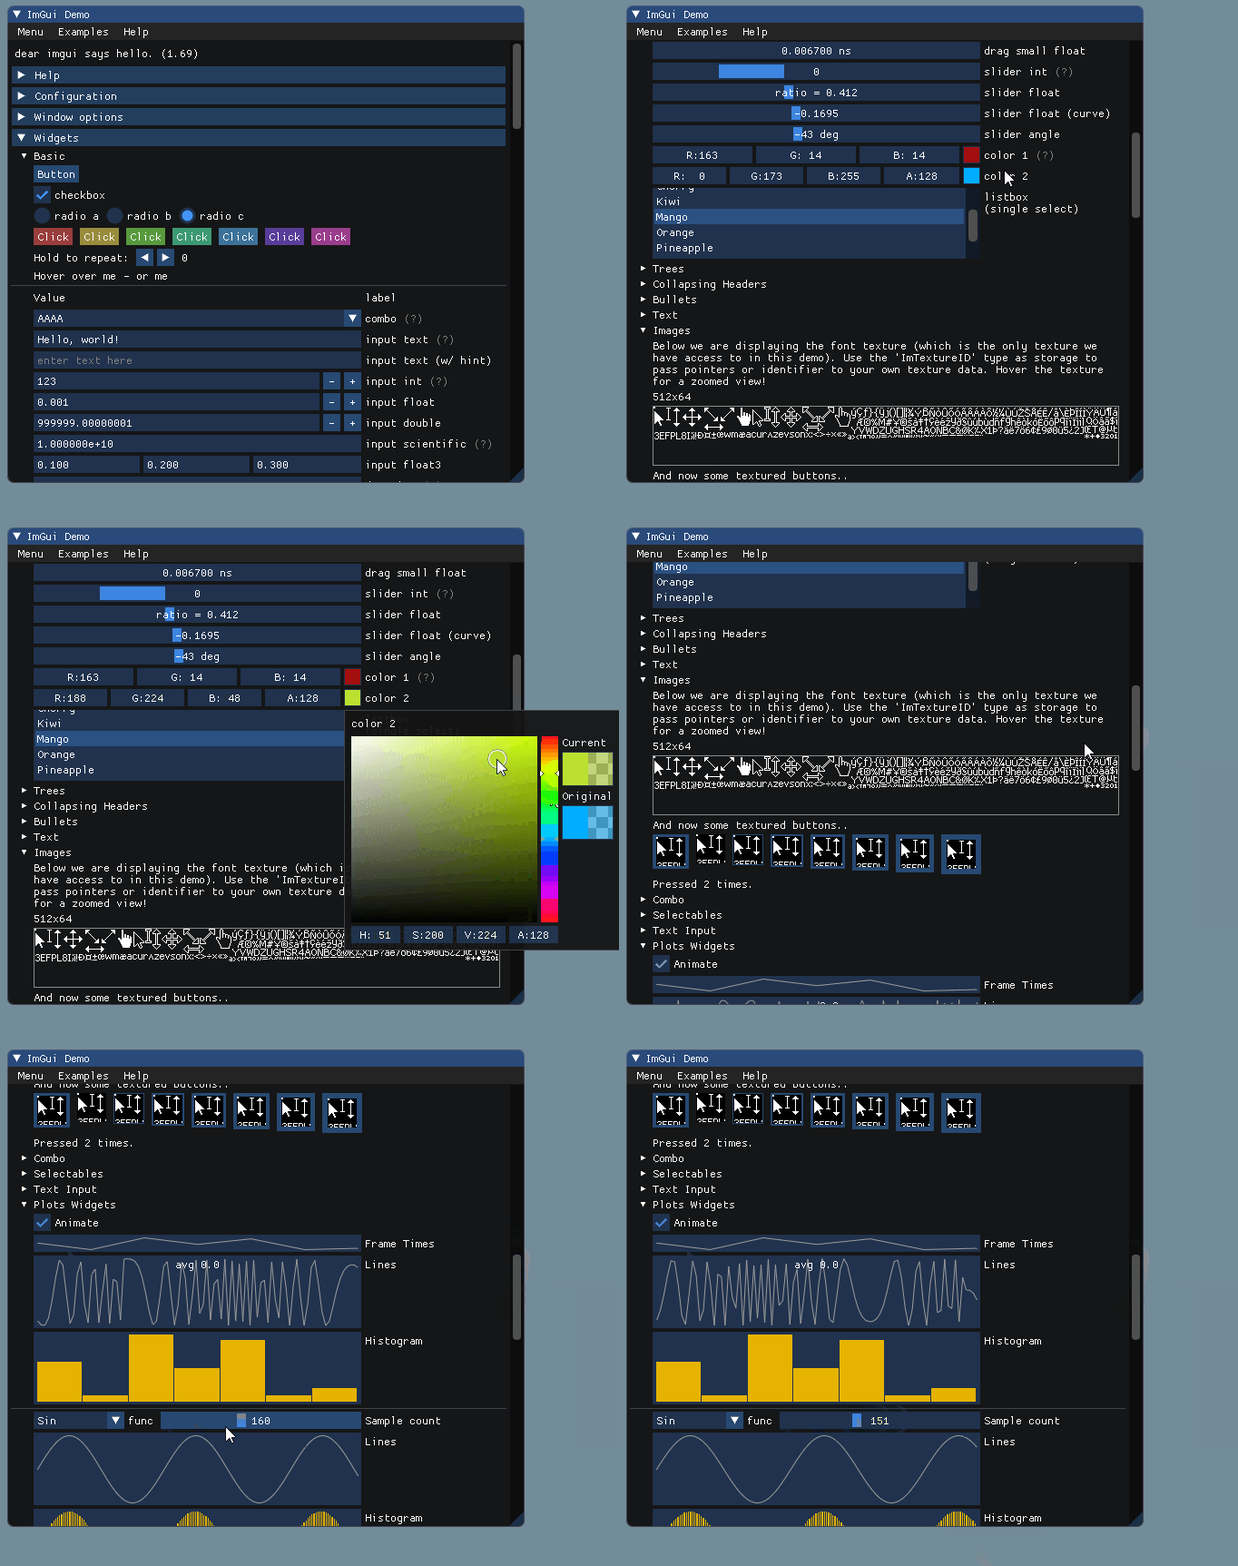
As developers, many of us have faced the pain of introducing graphical interfaces to our programs. Traditional GUI libraries add a degree of complexity which you may not want if you are making tools that are intended for a variety of tasks such as debugging. Here we present a library that makes it possible to create loggers, profilers, debuggers or even an entire game making editor quickly and easily. The entire example presented here is available on Github.
Update 2023-05-18: Update post for Conan 2.0
We have updated the code and explanations in this blog post to work with Conan 2.0. Please check the docs for Conan 2.0 or the migration guide if you have not updated yet from 1.X.
Dear ImGui?
Dear ImGui is an amazing C++ GUI library mainly used in game development. The project is open-source software, licensed under MIT license. Dear ImGui focuses on simplicity and productivity using what is called Immediate Mode GUI paradigm.
Immediate mode GUI’s are different from the traditional retained-mode interfaces in that widgets are created and drawn on each frame vs the traditional approach of first creating a widget and adding callbacks to it. Some of the benefits of this paradigm are your UI “lives closer” to your data and that it allows for fast prototyping.
Dear ImGui is mainly designed for developers to use in content creation and debug tools. It’s renderer agnostic in the way that you have to provide the tools to render the data but It’s very easy to integrate into your own code as it has multiple bindings for different window and events handling libraries (like GLFW, SDL2 and GLUT) and multiple renderers (like OpenGL, DirectX and Vulkan).
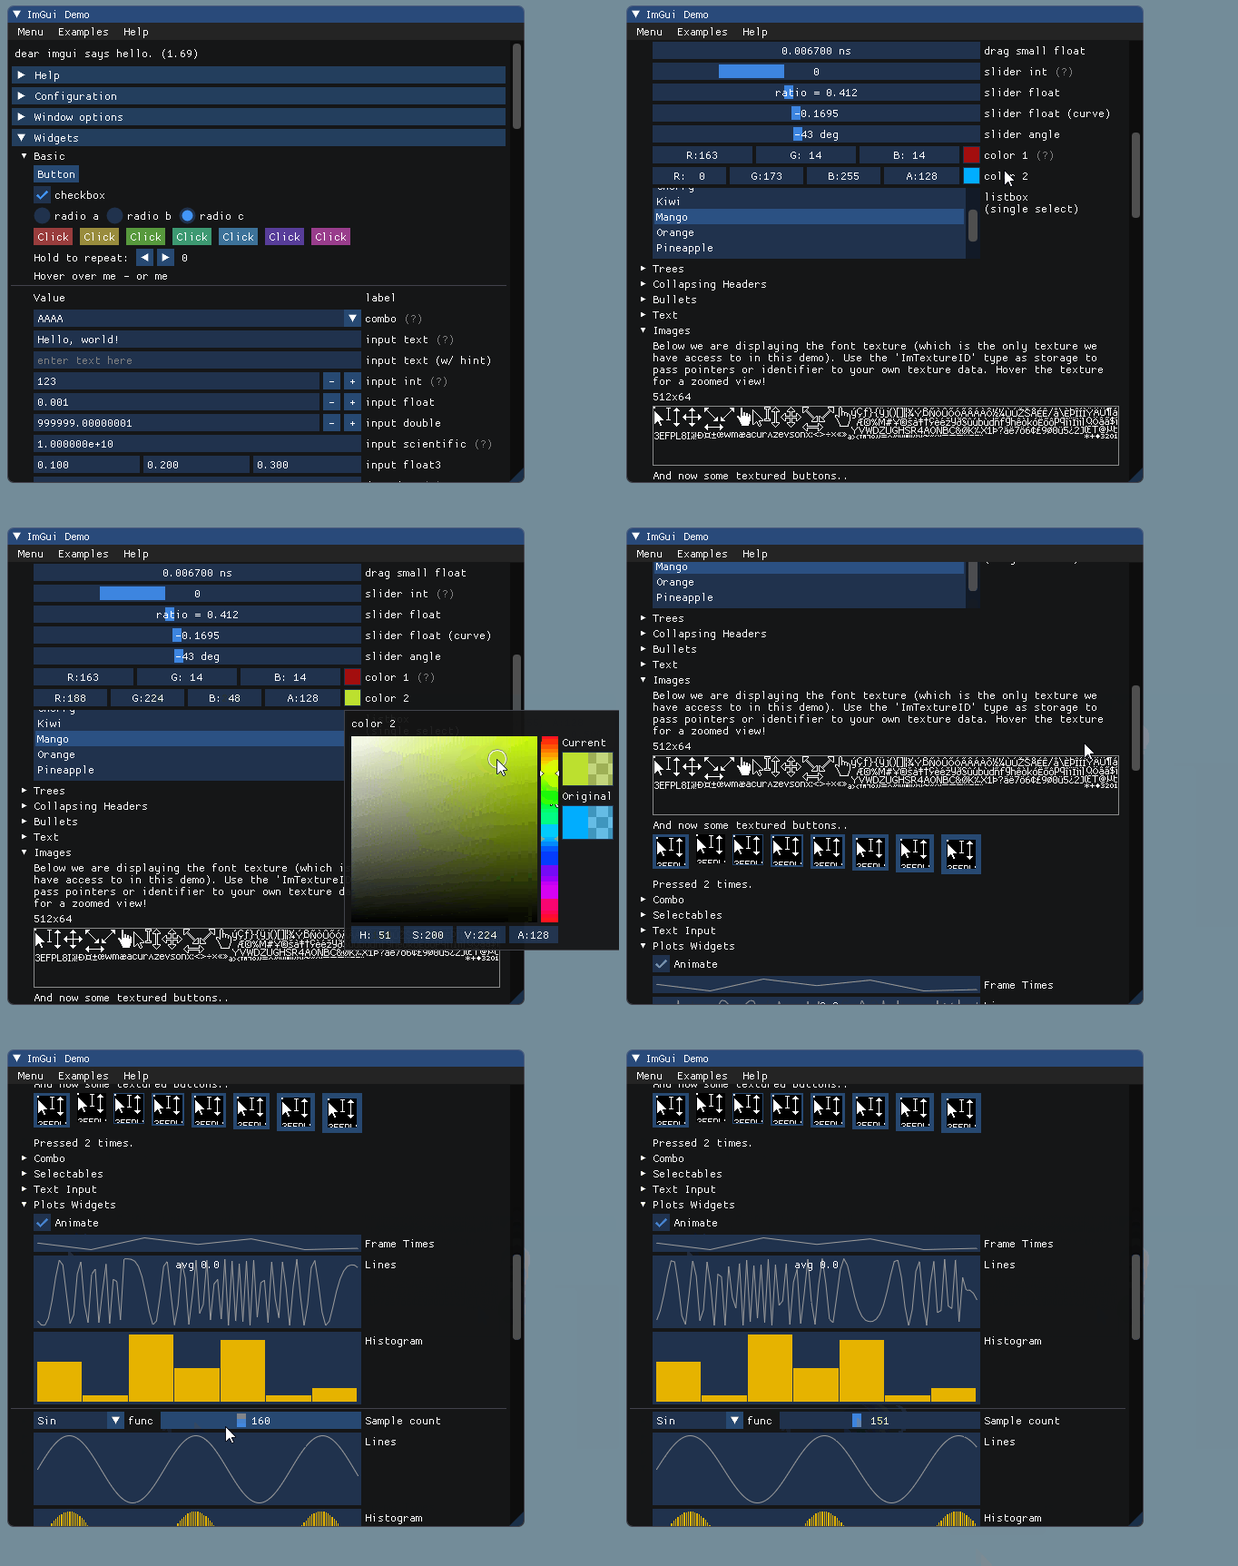
Dear ImGui comes with lots of widgets like windows, labels, input boxes, progress bars, buttons, sliders, trees, etc. You can see some examples in the image beneath.
Integrating Dear ImGui in your application
The typical use of ImGui is when you already have a 3D-pipeline enabled application like a content creation or game development tool where you want to add a GUI. Let’s see how easy it is to integrate ImGui in our application. Our example application renders a triangle using OpenGL3. We will use GLFW to manage window creation and events handling. As ImGui is independent of the rendering system and platform we have to introduce some binding for our rendering system. Fortunately, there are many pre-made bindings in Dear ImGui’s repo. As we will use Dear ImGui v1.89 these are the ones we will need:
- imgui_impl_opengl3.cpp
- imgui_impl_opengl3.h
- imgui_impl_opengl3_loader.h
- imgui_impl_glfw.cpp
- imgui_impl_glfw.h
The minimal code to make this work is in main.cpp. First, you initialize the window for rendering and then you have to initialize a Dear ImGui context and the helper platform and Renderer bindings. You can change the rendering style if you want as well.
// Setup Dear ImGui context
IMGUI_CHECKVERSION();
ImGui::CreateContext();
ImGuiIO &io = ImGui::GetIO();
// Setup Platform/Renderer bindings
ImGui_ImplGlfw_InitForOpenGL(window, true);
ImGui_ImplOpenGL3_Init(glsl_version);
// Setup Dear ImGui style
ImGui::StyleColorsDark();
Then you enter the main application loop where you can clearly see the difference with the classical retained mode GUI’s.
while (!glfwWindowShouldClose(window))
{
    glfwPollEvents();
    glClearColor(0.45f, 0.55f, 0.60f, 1.00f);
    glClear(GL_COLOR_BUFFER_BIT);

    // feed inputs to dear imgui, start new frame
    ImGui_ImplOpenGL3_NewFrame();
    ImGui_ImplGlfw_NewFrame();
    ImGui::NewFrame();

    // rendering our geometries
    triangle_shader.use();
    glBindVertexArray(vao);
    glDrawElements(GL_TRIANGLES, 3, GL_UNSIGNED_INT, 0);
    glBindVertexArray(0);

    // render your GUI
    ImGui::Begin("Demo window");
    ImGui::Button("Hello!");
    ImGui::End();

    // Render dear imgui into screen
    ImGui::Render();
    ImGui_ImplOpenGL3_RenderDrawData(ImGui::GetDrawData());

    int display_w, display_h;
    glfwGetFramebufferSize(window, &display_w, &display_h);
    glViewport(0, 0, display_w, display_h);
    glfwSwapBuffers(window);
}
And, we must do some cleanup when the loop ends.
ImGui_ImplOpenGL3_Shutdown();
ImGui_ImplGlfw_Shutdown();
ImGui::DestroyContext();
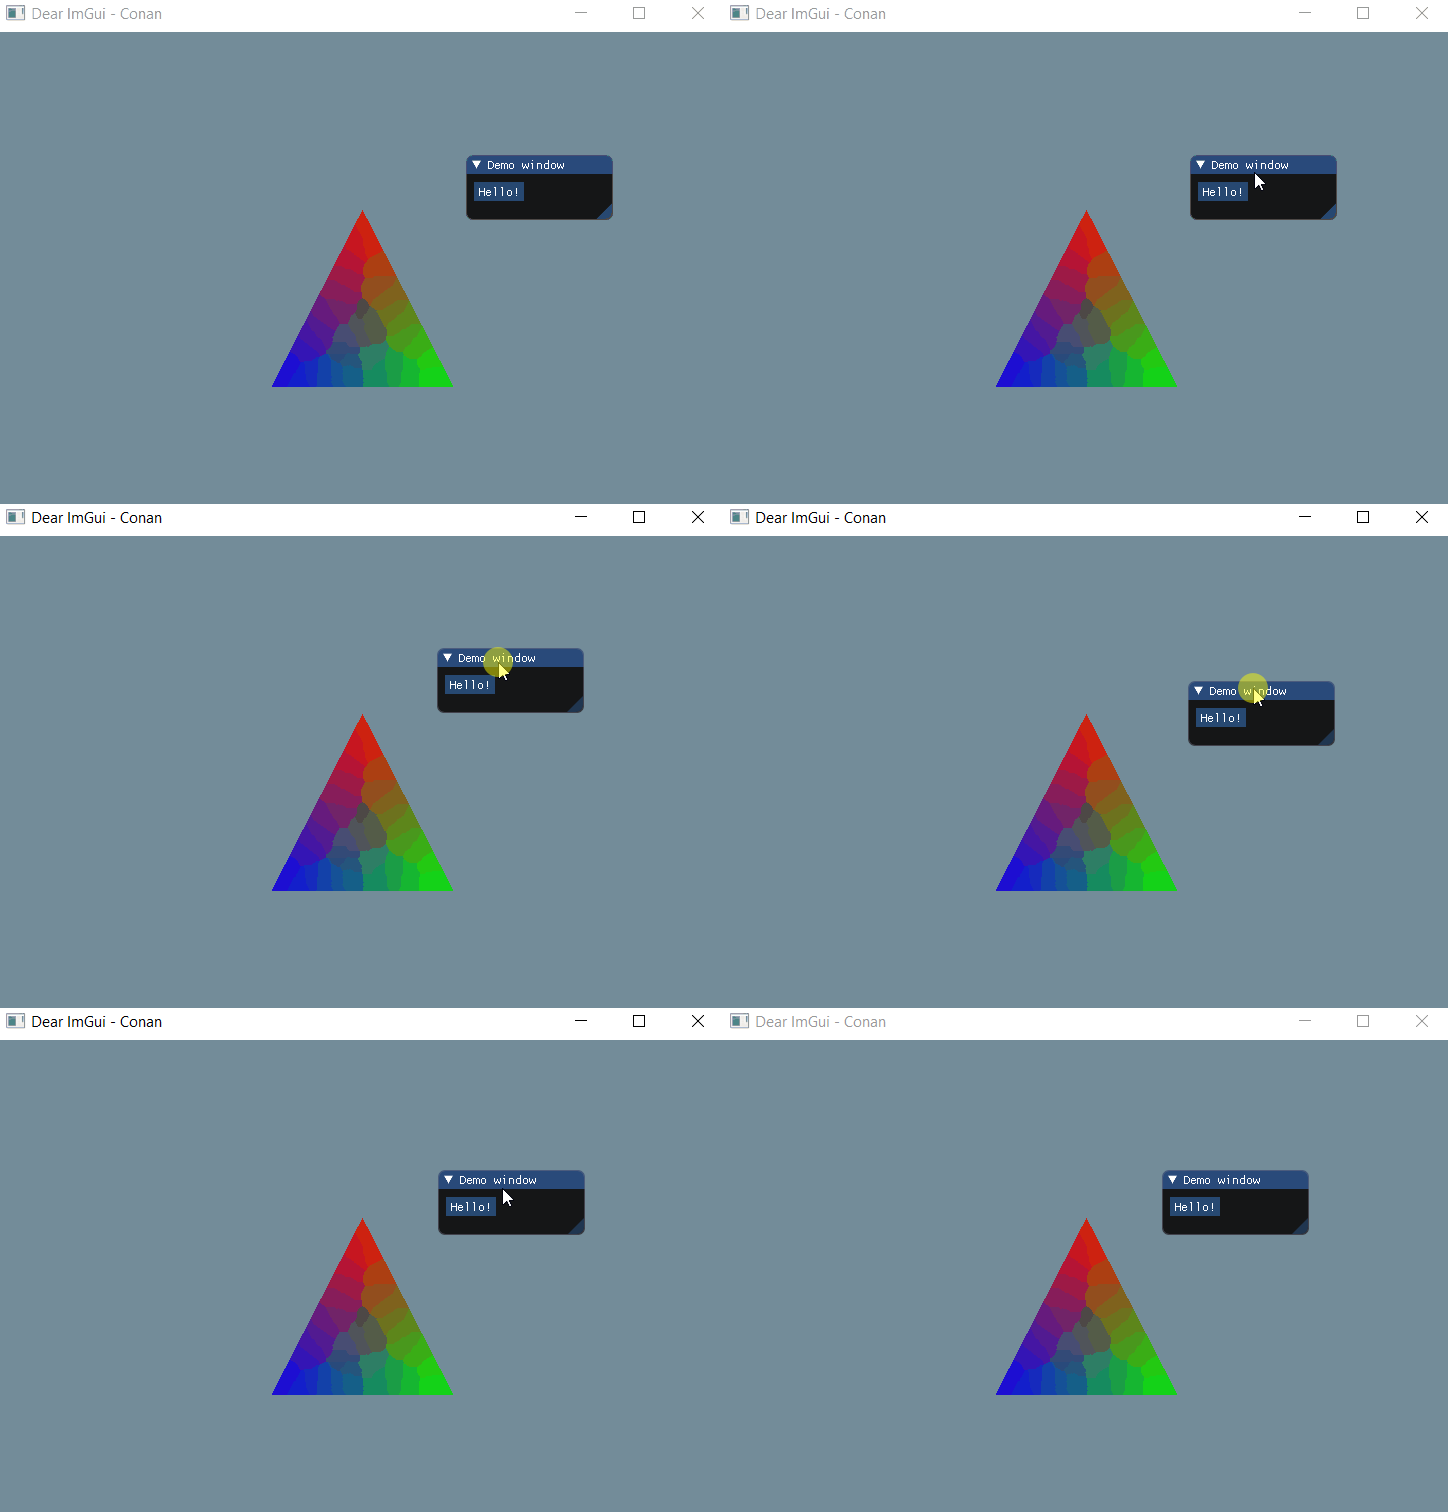
So, this is what we get:
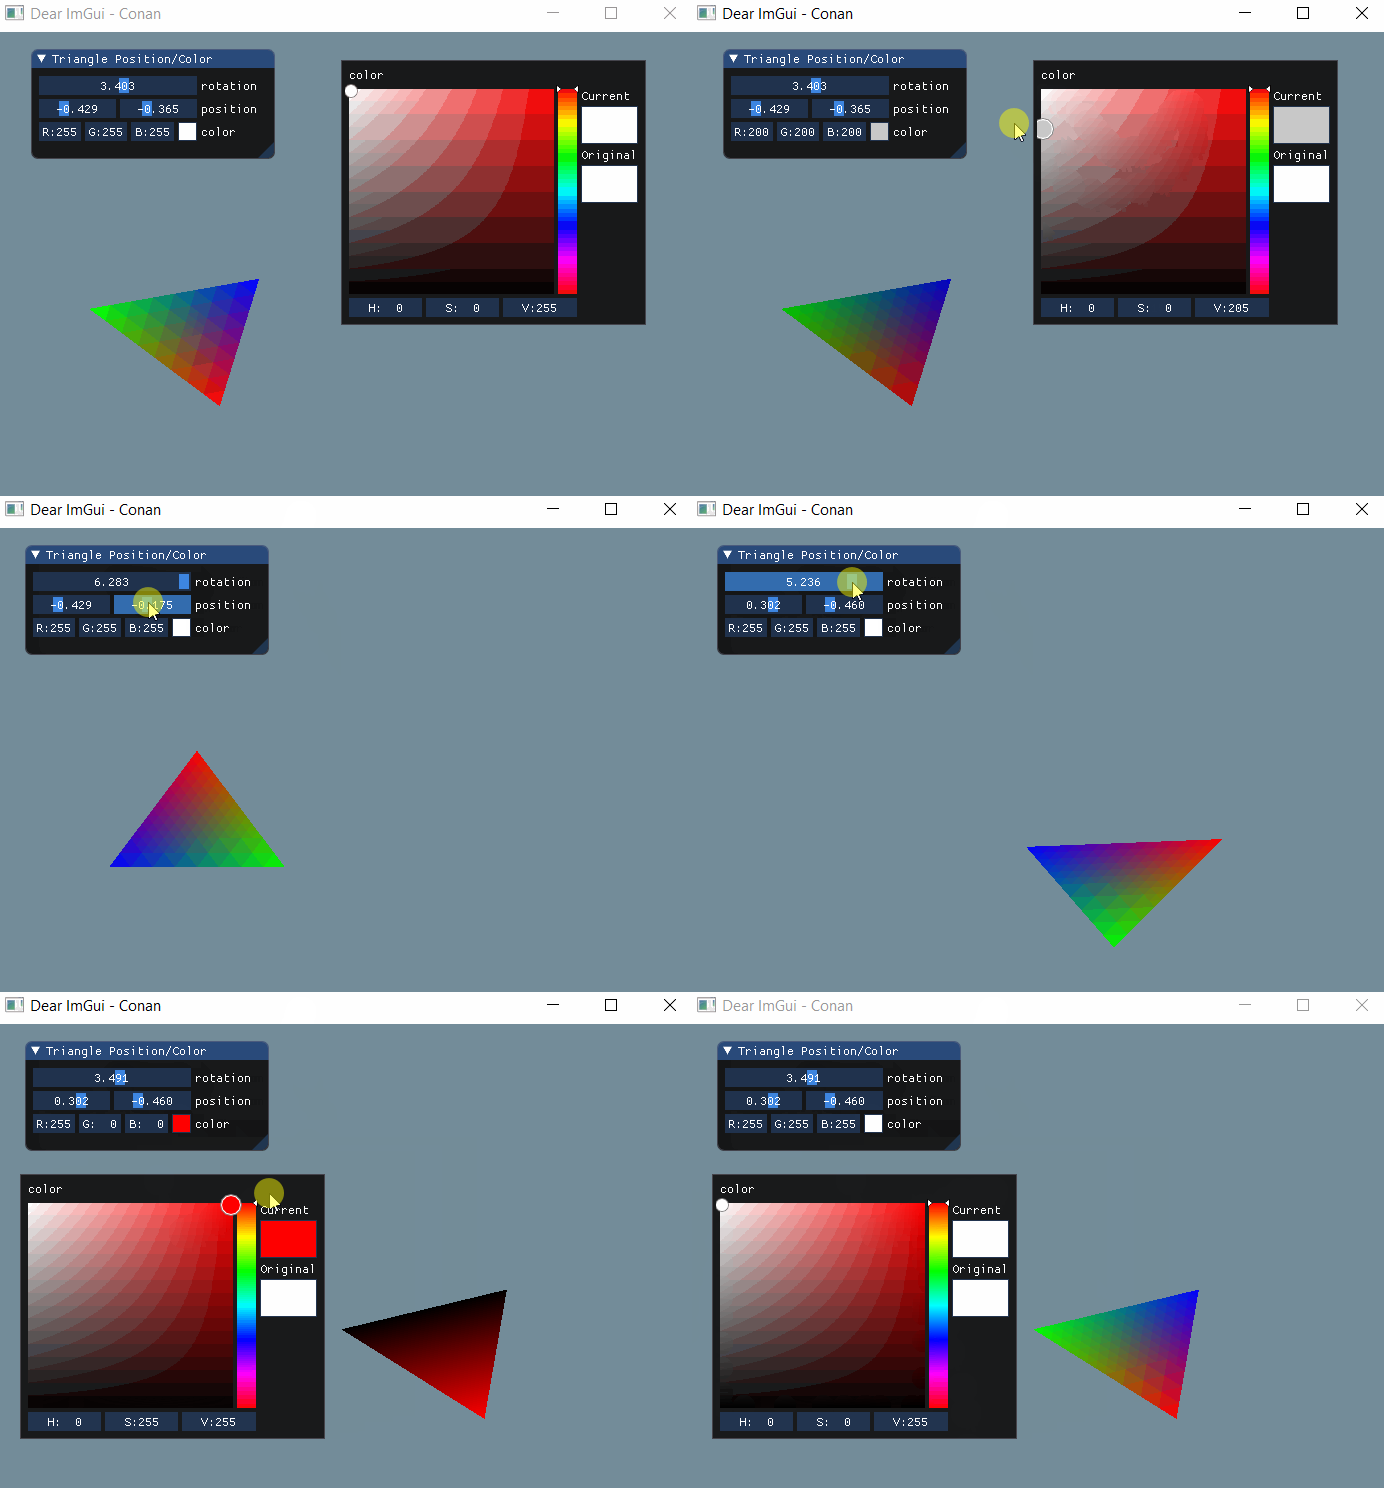
Let’s say, for example, that we want to change the triangle’s position/orientation and colour. That would be as simple as calling some sliders and a colour picker and passing the data to the triangle via shader uniforms:
// render your GUI
ImGui::Begin("Triangle Position/Color");
static float rotation = 0.0;
ImGui::SliderFloat("rotation", &rotation, 0, 2 * PI);
static float translation[] = {0.0, 0.0};
ImGui::SliderFloat2("position", translation, -1.0, 1.0);
static float color[4] = { 1.0f,1.0f,1.0f,1.0f };
// pass the parameters to the shader
triangle_shader.setUniform("rotation", rotation);
triangle_shader.setUniform("translation", translation[0], translation[1]);
// color picker
ImGui::ColorEdit3("color", color);
// multiply triangle's color with this color
triangle_shader.setUniform("color", color[0], color[1], color[2]);
There are some basic drawing tools as well.
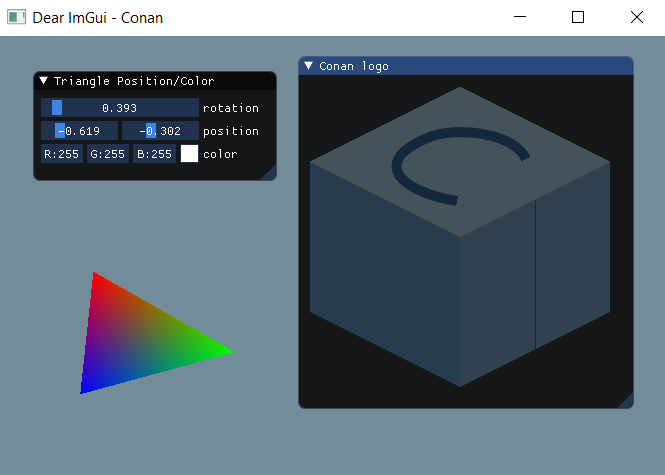
If you want to explore the different library widgets and options the best way to do it is to make a call to ImGui::ShowDemoWindow() and have a look at the different examples.
Setting up a project with Conan
Setting up a project that uses ImGui is a matter of minutes with Conan. A Conan package for ImGui has been created and added to Conan-Center already. The example shown here is using Windows and Visual Studio 2022 but it is very similar in MacOS or Linux.
If you want to give a try tou can download all the files from the Conan examples repo:
git clone https://github.com/conan-io/examples2.git
cd examples2/examples/libraries/imgui/introduction/
First, let’s inspect the CMake project. It has the bindings for GLFW and OpenGL3 and two more files to handle OpenGL shaders and file reading. It will also copy the shaders that render the triangle to the working directory each time the application is recompiled.
cmake_minimum_required(VERSION 3.15)
project(dear-imgui-conan CXX)

find_package(imgui REQUIRED)
find_package(glfw3 REQUIRED)
find_package(glew REQUIRED)

add_executable( dear-imgui-conan
                main.cpp
                opengl_shader.cpp
                file_manager.cpp
                opengl_shader.h
                file_manager.h
                bindings/imgui_impl_glfw.cpp
                bindings/imgui_impl_glfw.h
                bindings/imgui_impl_opengl3.cpp
                bindings/imgui_impl_opengl3.h
                bindings/imgui_impl_opengl3_loader.h
                assets/simple-shader.vs
                assets/simple-shader.fs )

add_custom_command(TARGET dear-imgui-conan
    POST_BUILD
    COMMAND ${CMAKE_COMMAND} -E copy ${PROJECT_SOURCE_DIR}/assets/simple-shader.vs ${PROJECT_BINARY_DIR}
    COMMAND ${CMAKE_COMMAND} -E copy ${PROJECT_SOURCE_DIR}/assets/simple-shader.fs ${PROJECT_BINARY_DIR}
)

target_compile_definitions(dear-imgui-conan PUBLIC IMGUI_IMPL_OPENGL_LOADER_GLEW)
target_link_libraries(dear-imgui-conan imgui::imgui GLEW::GLEW glfw)
To make Conan install the libraries and generate the files needed to build the project with CMake, we create a conanfile.py that declares the dependencies for the project. Besides from the GLFW library we already talked about, we need the GLEW library to handle OpenGL functions loading. We will use CMakeDeps to generate the configuration files for CMake, and CMakeToolchain to generate all the information that the build-system needs. We are also copying the required bindings for GLFW and OpenGL3 in the generate() method. Also, note that we declare the layout() for the project as cmake_layout, as we are using CMake for building. You can check the consuming packages tutorial section of the Conan documentation for more information.
import os

from conan import ConanFile
from conan.tools.cmake import cmake_layout
from conan.tools.files import copy


class ImGuiExample(ConanFile):
    settings = "os", "compiler", "build_type", "arch"
    generators = "CMakeDeps", "CMakeToolchain"

    def requirements(self):
        self.requires("imgui/1.89.4")
        self.requires("glfw/3.3.8")
        self.requires("glew/2.2.0")

    def generate(self):
        copy(self, "*glfw*", os.path.join(self.dependencies["imgui"].package_folder,
            "res", "bindings"), os.path.join(self.source_folder, "bindings"))
        copy(self, "*opengl3*", os.path.join(self.dependencies["imgui"].package_folder,
            "res", "bindings"), os.path.join(self.source_folder, "bindings"))

    def layout(self):
        cmake_layout(self)
Now we can use Conan to install the libraries. It will not only install imgui, glfw and glew, but also all the necessary transitive dependencies. Conan fetches these packages from the default ConanCenter remote - the official repository for open-source Conan packages. If binaries are not available for your configuration, building from sources is also an option.
conan install . --build=missing
With the conan install command we install all the necessary packages locally and also generate the necessary files to build our application. Please note that we used the --build=missing argument in case some binaries are not available from the remote. Also, if you are running Linux and some necessary missing system libraries are missing on your system, you may have to add the -c tools.system.package_manager:mode=install or -c tools.system.package_manager:sudo=True arguments to the command line (docs reference).
Now let’s build the project and run the application. If you have CMake>=3.23 installed, you can use CMake presets:
# Linux, macOS
cmake --preset conan-release
cmake --build --preset conan-release
cd build/Release
./dear-imgui-conan

# Windows
cmake --preset conan-default
cmake --build --preset conan-release
cd build\Release
dear-imgui-conan.exe
Otherwise, you can add the necessary arguments for CMake:
# Linux, macOS
cmake . -G "Unix Makefiles" -DCMAKE_TOOLCHAIN_FILE=build/Release/generators/conan_toolchain.cmake -DCMAKE_POLICY_DEFAULT_CMP0091=NEW -DCMAKE_BUILD_TYPE=Release
cmake --build .
./dear-imgui-conan

# Windows. Assuming Visual Studio 17 2022
# is your VS version and that it matches
# your default profile
cmake . -G "Visual Studio 17 2022"
-DCMAKE_TOOLCHAIN_FILE=./build/generators/conan_toolchain.cmake
-DCMAKE_POLICY_DEFAULT_CMP0091=NEW'
cmake --build . --config Release
dear-imgui-conan.exe
Conclusions
Dear ImGui is a powerful library with an easy to use API which integrates into 3D-pipeline enabled applications almost seamlessly. It’s packed with all sorts of widgets and can be a great tool to make debugging software such as profilers, loggers or object editors of any kind. Also, extra functionalities like docking or multiple viewports are actively developed in the docking branch of the project. Packages for that branch are also available in ConanCenter.
So, what are you waiting for? Dive in, play around with Dear ImGui, and see how it jives with your own code!