
- 전체
- C/C++ 일반
- C/C++ 수학
- C/C++ 그래픽
- C/C++ 자료구조
- C/C++ 인공지능
- C/C++ 인터넷
- wxWidget
- GTK+
- UNIX or LINUX programming
- 리눅스 마스터 - 국가공인자격
- VC++/ MFC
- C#/CLI/.NET
- QT/기타UI
- Boost lib
- 오픈소스 C 분석자료
- MSA (마이크로서비스), Docker, kubernetes
- WSL(windows subsystem linux)
리눅스 마스터 - 국가공인자격 Tasksel – Easily and Quickly Install Group Softwares in Debian and Ubuntu
2018.10.14 16:29
Tasksel – Easily and Quickly Install Group Softwares in Debian and Ubuntu
One of the several tasks that a Linux user is bound to handle is software installation. There are possibly two methods especially on Debian/Ubuntu Linux systems you can use for installing software. The first is installing individual packages using package management tools such as apt-get, apt, aptitude and synaptic.
The other is by using Tasksel, is a simple and easy-to-use tool developed for Debian/Ubuntu that provides users an interface to enable them to install a group of related packages such as LAMP Server, Mail Server, DNS Server, etc. as a single pre-configured task. It works comparably to meta-packages, you will find nearly all tasks in tasksel present in meta-packages.
How To Install and Use Tasksel in Debian and Ubuntu
To install tasksel, simply run the command below:
After installing Tasksel, it enables you to install one or more predefined group of packages. User need to run it from the command line with a few arguments, it provides a graphical user interface as well where one can select software to install.
The general syntax of running tasksel from the command line is:
To start the tasksel user interface, issue the command below:
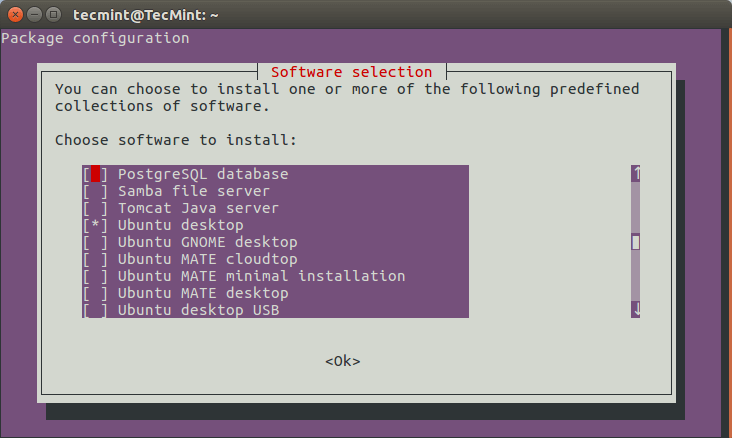
Tasksel – List of Software Collection
Where you see an asterisk (*) without the red highlighter, it means that software is already installed.
To install one or more software, use the Up and Down arrows to move the red highlighter, press the Space bar to select the software and use the Tab key to move the to <ok>. Then hit Enter button to install the selected software as shown in the screencast below.
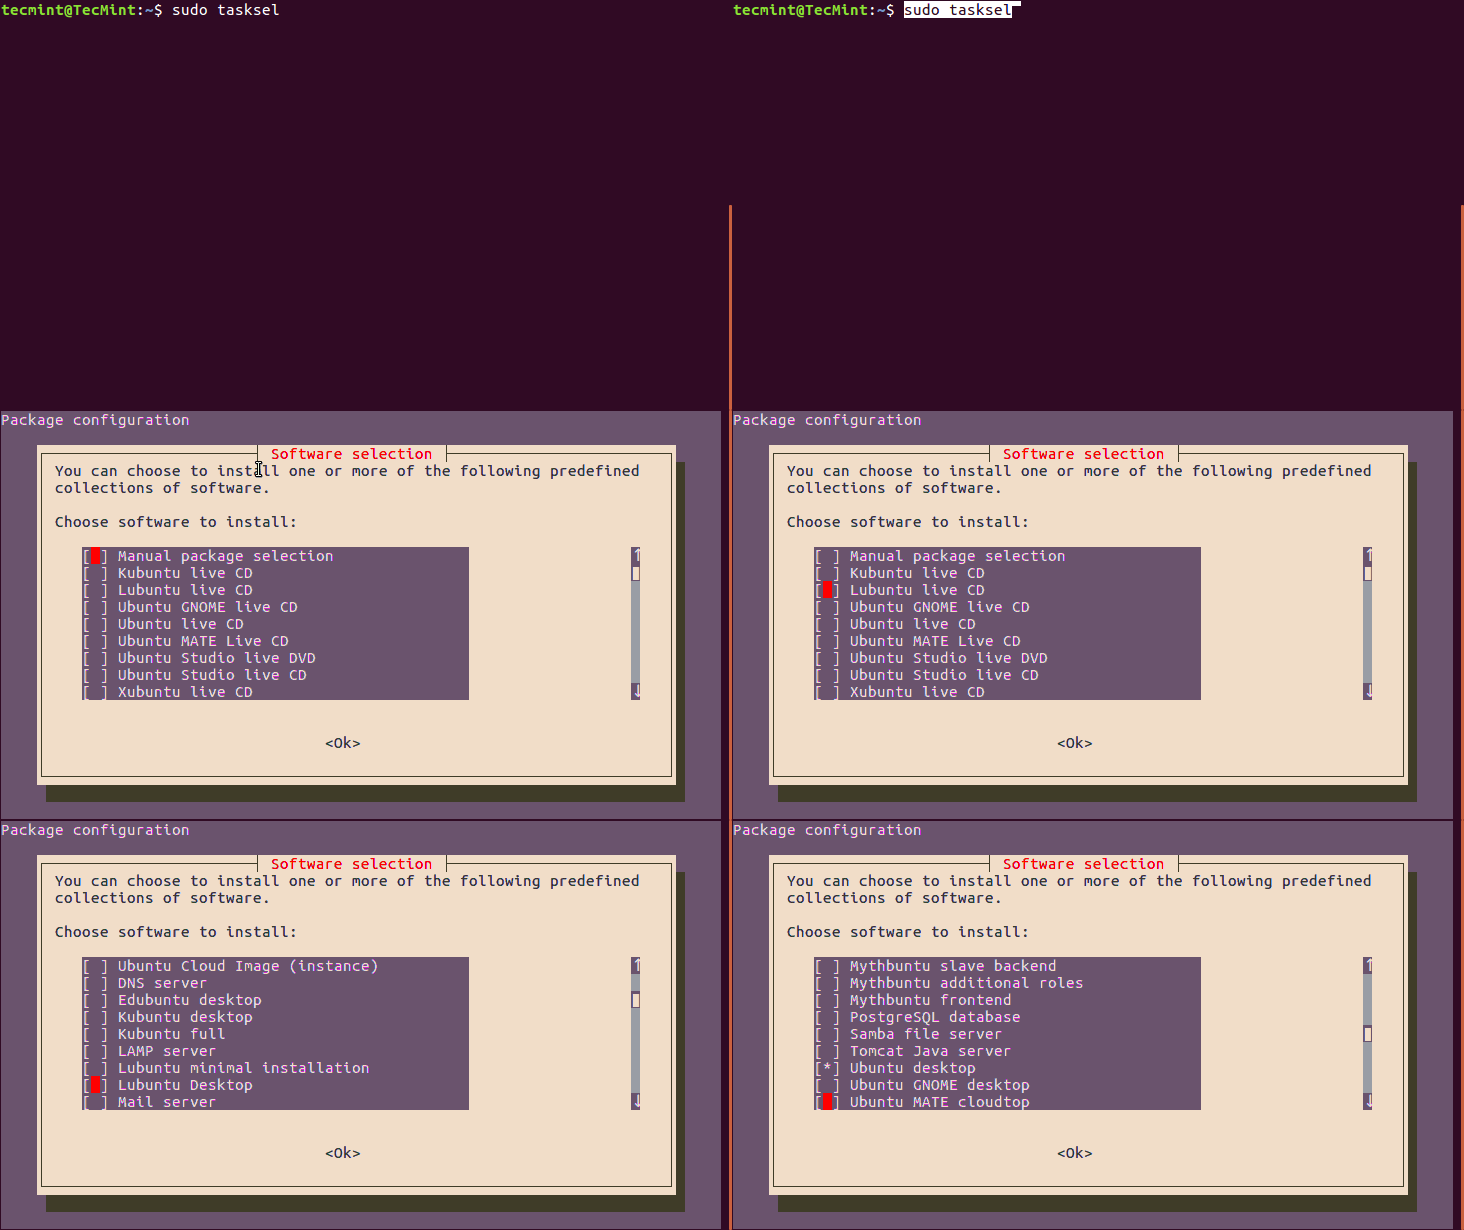
Alternatively, you can list all tasks from the command line as well, by using the command below. Note that in the first column of the list, u (uninstalled) means software is not installed and i (installed) means software is installed.
Sample Output
You can find a full description of all tasks in /usr/share/tasksel/*.desc and /usr/local/share/tasksel/*.desc files.
Let’s install some group of software packages such LAMP, Mail Server, DNS Server etc..


Install LAMP stack Using Tasksel
As an example, we shall cover the installation of LAMP (Linux, Apache, MySQL and PHP) stack in Ubuntu 16.04.
You can either use the user interface or the command line option, but here, we shall utilize the command line option as follows:
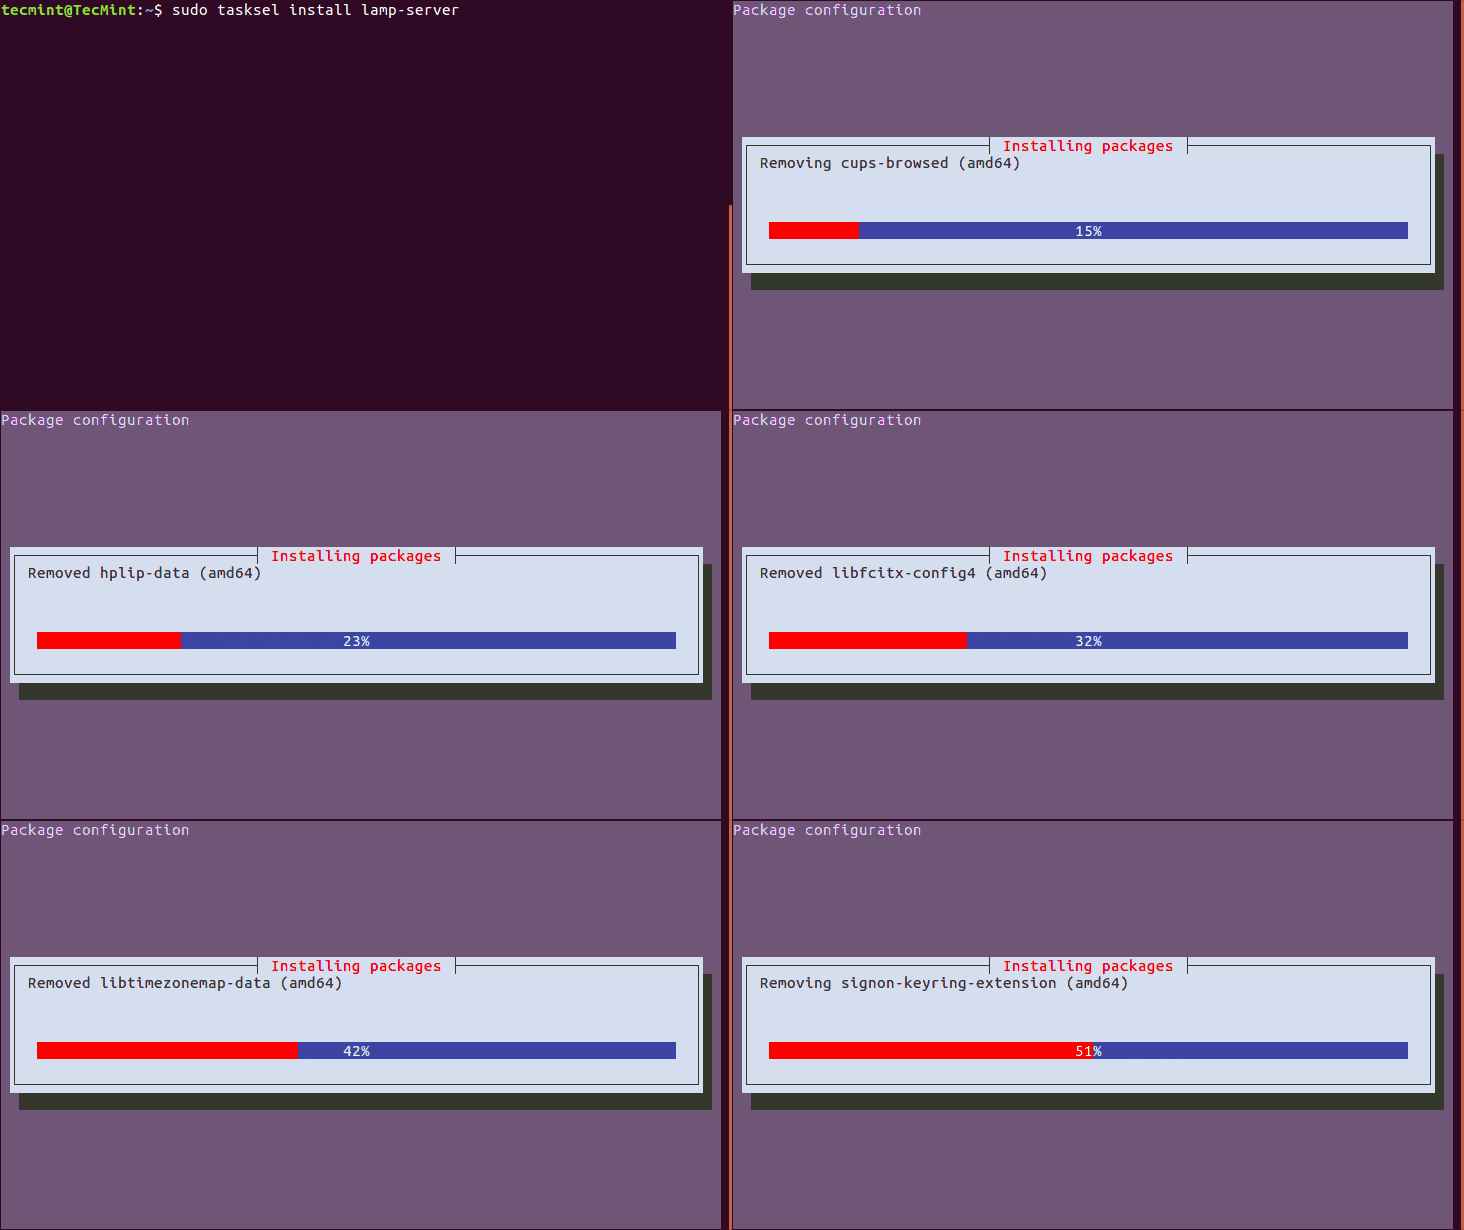
While the Mysql package is being installed, you will be prompted to configure Mysql by setting a root password. Simply enter a strong and secure password, then hit the Enter key to proceed.
Wait for the installation to complete. After all is done, you can test the LAMP stack installation as follows.
Similarly you can also install Mail Server or DNS Server as shown:
Look through the tasksel package man page for more usage options.
As a conclusion, tasksel is a simple and easy-to-use interface for users to install software on their Debian/Ubuntu Linux systems.
However, which method of software installation i.e using apt-get/apt/aptitude package management tools or tasksel, do you actually prefer and why? Let us know via the comment section below, as well as any suggestions or other vital feedback.
[출처] https://www.tecmint.com/tasksel-install-group-software-lamp-mail-dns-in-debian-ubuntu/
광고 클릭에서 발생하는 수익금은 모두 웹사이트 서버의 유지 및 관리, 그리고 기술 콘텐츠 향상을 위해 쓰여집니다.
댓글 0
| 번호 | 제목 | 글쓴이 | 날짜 | 조회 수 |
|---|---|---|---|---|
| 13 |
[WSL2] 외부에서 WSL2 접속하기 (feat. 포트포워딩)
 | 졸리운_곰 | 2024.12.01 | 325 |
| 12 |
[WSL2] Windows 11 WSL2 이용한 SSH & RStudio Server 설치 및 내·외부에서 접속
| 졸리운_곰 | 2023.11.06 | 346 |
| 11 |
[WSL2] Windows 11 WSL2 이용한 Python Jupyter 설치 및 내·외부에서 접속
| 졸리운_곰 | 2023.11.06 | 329 |
| 10 |
[WSL2] WSL2 외부 접속 설정
| 졸리운_곰 | 2023.06.26 | 379 |
| 9 |
[WSL2] Mysql 자동실행 설정하기
| 졸리운_곰 | 2023.06.25 | 302 |
| 8 |
[WSL2] 윈도우에서 linux 사용 (WSL 2), xwindows GUI 설정
| 졸리운_곰 | 2023.01.28 | 391 |
| 7 |
[WSL2] Windows 11의 WSL2에서 리눅스 X Window 응용프로그램 실행하기
| 졸리운_곰 | 2023.01.28 | 294 |
| 6 |
[WSL2] WSL에서의 Jupyter notebook 사용하기.
| 졸리운_곰 | 2022.11.27 | 481 |
| 5 | [WSL] WSL 배포판 복사하기 | 졸리운_곰 | 2022.10.30 | 322 |
| 4 | [WSL] 백업방법, WSL 내보내기, 가져오기 [WSL2] 내보내기 및 가져오기 | 졸리운_곰 | 2022.10.30 | 281 |
| 3 |
[WSL] WSL2[4] - SSH 접속하기
| 졸리운_곰 | 2022.09.25 | 371 |
| 2 |
[WSL] WSL2 딥러닝 환경 구축하기 (CUDA, CuDNN, Anaconda)
| 졸리운_곰 | 2022.09.04 | 396 |
| 1 |
[WSL] WSL에서의 Jupyter notebook 사용하기.
| 졸리운_곰 | 2022.09.04 | 350 |